|
Projects | Guides | Gallery | Articles | Contact |

|
Work Log Page: [1] - [2] - [3] - [4] - [5] - [6] - [7] - [8] - [9] 05/15/2005 Update... Finishing, piece by piece. I keep getting new ideas as time passes and the mod progresses, like the need for a CDRW/DVD combo drive to make it a complete and self contained computer... so I ordered one from PCAlchemy.com and installed it.
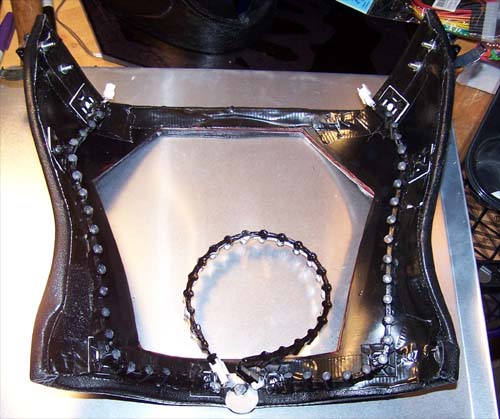
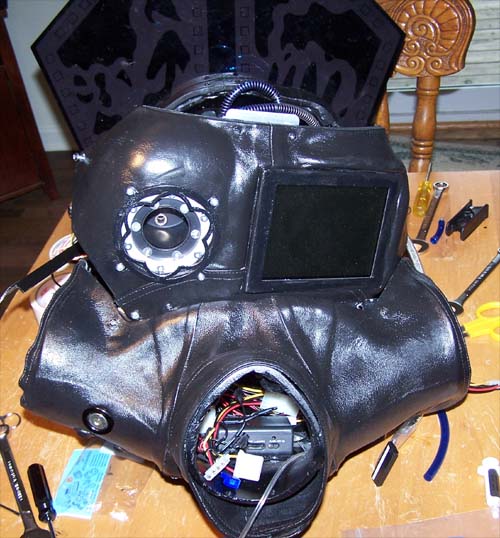
Here is the back of the chest section with everything all wired up and ready to be installed. I added a couple red lazer LEDs to the bottom to help better light the interior.
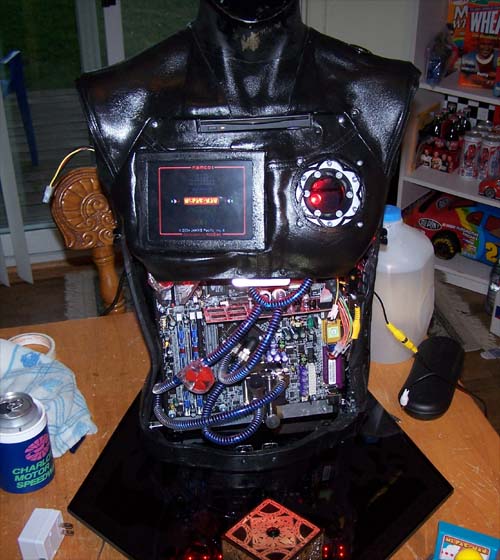
The view from the front, I painted and glazed the whole thing and it can be set aside because it is FINISHED.
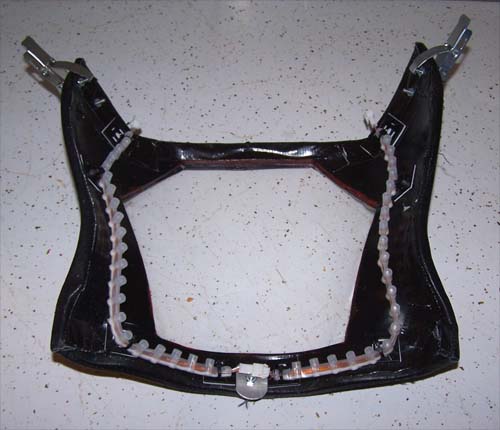
Next up, adding lighting to the inside of the abdomen. I am using some flexible LED strips from Sunbeam for the main interior lighting held in place with zip ties.
But the LED strips are white... this will not do. A coat of paint later and they blend perfectly.
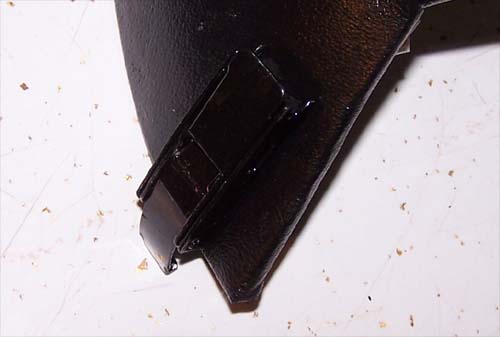
While I was at it I enamel painted the draw latches that hold the abdomen window in place...
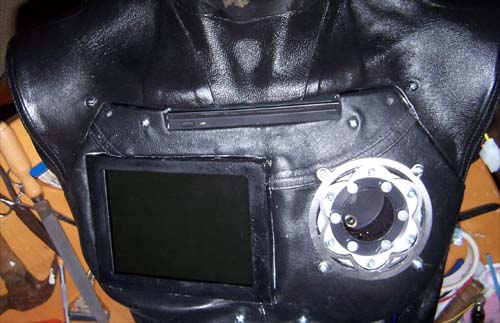
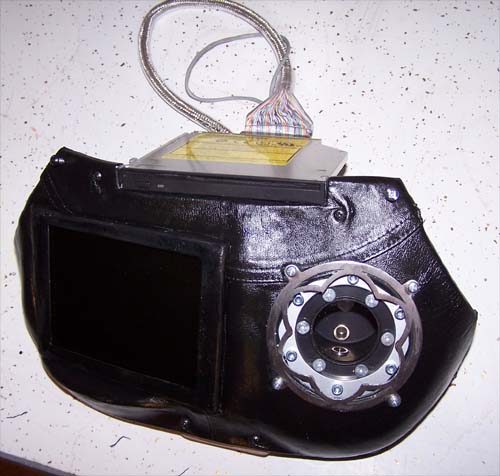
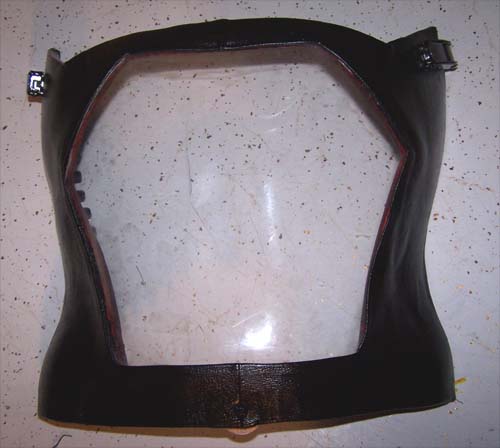
And below is the result of my labor, abdomen window section... FINISHED.
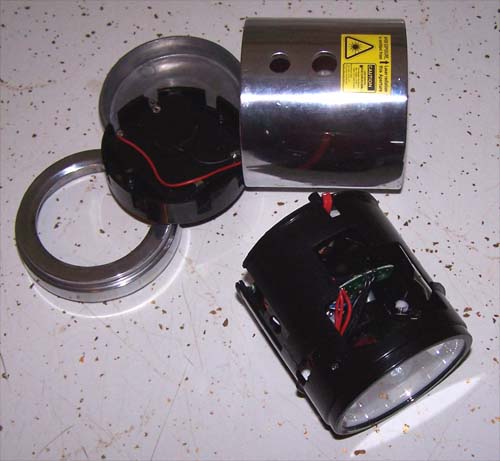
The instructions for the LaserPod implicitly state on page one not to disassemble it... so I did.
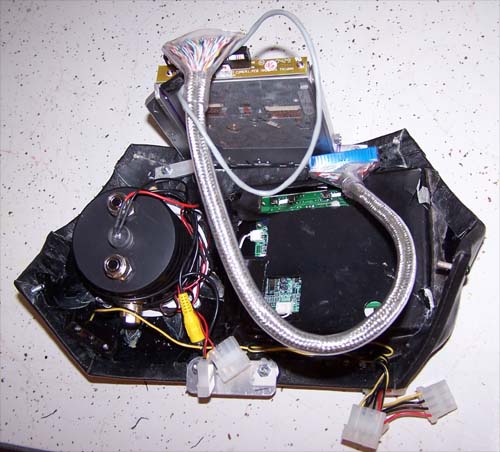
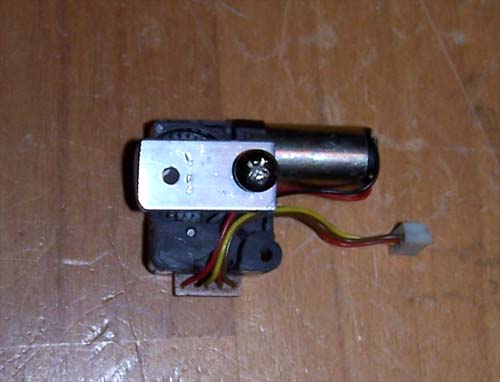
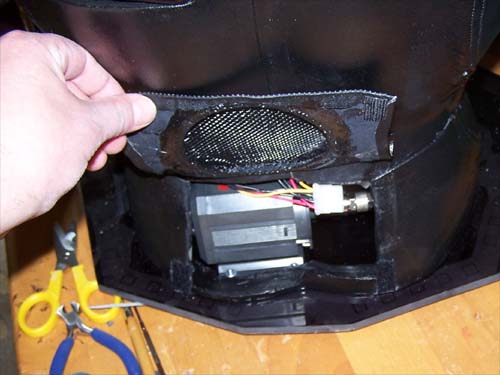
Below is the motor that will control the movement of the eyes, it has an extra wire that when hooked to a momentary switch make the motor turn a single revolution... which gave me an idea. I am not going into detail about how the motor makes the eyes move, I am just happy it worked.
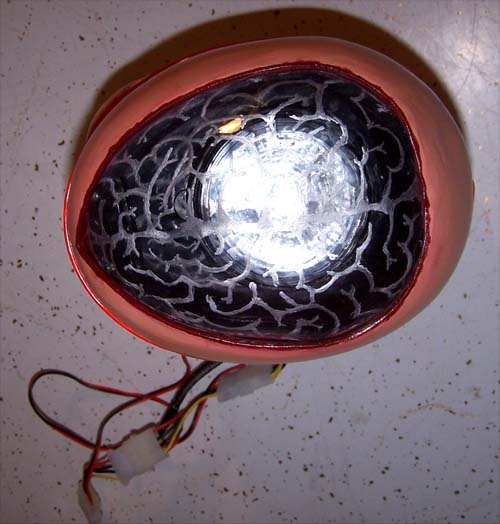
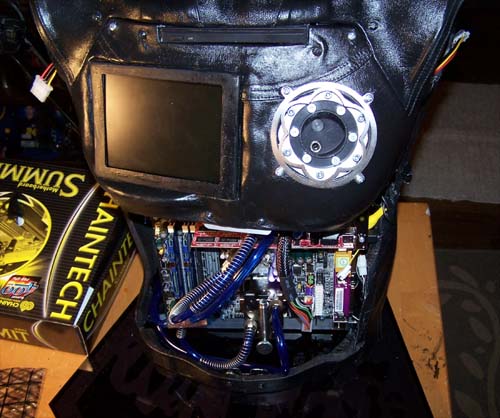
A top down shot showing the Laserpod installed, there is also a red laser LED in the forhead area (not visible) for extra lighting. I cut a piece of plexi to fit the inside of the head, next I cut a hole just big enough for the Laserpod to fit through into the plexi and backpaint it black with Krylon Fusion.
I also installed a UV laser LED above the eyes, since they are made of glow in the dark plastic it only made sense. Here is a short video of the motorized eyes in action... they came out better than I had hoped. I then hooked up the EL wire that wraps around the outside of the head making this part (the hardest part)... FINISHED.
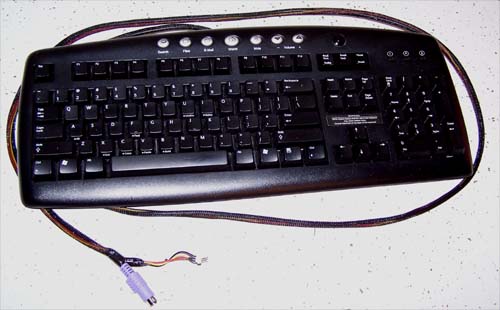
Last up on my full days work list, the keyboard. I installed a small SPST momentary switch into the top right of the keybaord to control the movement of the eyes, I also sleeved the wires together and that makes this part also FINISHED.
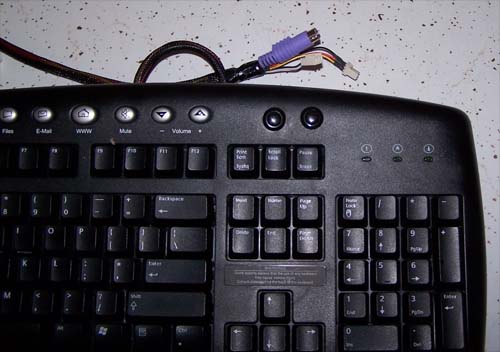
05/19/2005 Update... It will not die! Things that I thought to be (and well could have been) finished have been worked on even more to make them just that little bit better, like the above pictured keyboard... it still needed something. Since I did not need the UV LEDs above the eyes to be on all the time and did not want to hook them to any of the switches on the back of the torso I decided to run a second SPST momentary switch to the keyboard so that I can make the eyes completely freak out with light and motion all from one spot.
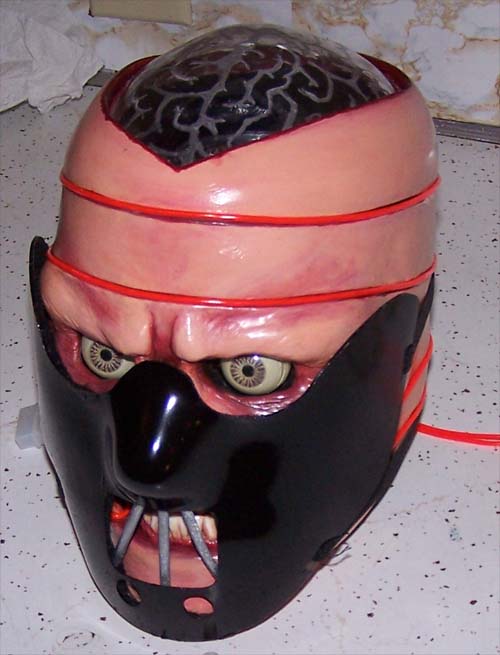
I remembered an old Hannibal Lechter mask that I had, just goofing around I decided to put it on the head... it looked pretty freaked out, but it was a coppery color and made of thin plastic. Four coats of vinyl dye to the mask and the same in silver spray paint for the mouth section, along with felt lining the inside of the mask for both support and protection from scratching up the face and the newest addition to the mod is finished. It easily slips on and off and will mainly be used when transporting it.
05/20/2005 Update: Installing the hardware and water cooling... Well, installing hardware is easy (done it a million times) but water cooling is admittedly new to me. I got everything inside the abdomen and installed the window... which caused a few kinks in my tubing. I have some springs already installed on most of the hoses and have ordered more to cover the rest. I also have to shorten a couple other hoses to make sure that nothing gets kinked when the window is on... I am learning and thankful that I did not jump the gun and fill it with water before noticing the problems.
Almost there, once the springs arrive I will redo the tubing, tidy up the wiring and probably add a pair of meteor lights into the abdomen... then I can finally fire this bad boy up. 05/21/2005 Update: Mod it Til it Bleeds! Since I made additions to both the head and the keyboard (both were supposedly done) I felt that an addition could be made to the abdomen window to make things better too. I painted and installed another strip of flexible red LEDs that will sit inside the bottom base of the belly and light the area around the processor block up to the video card.
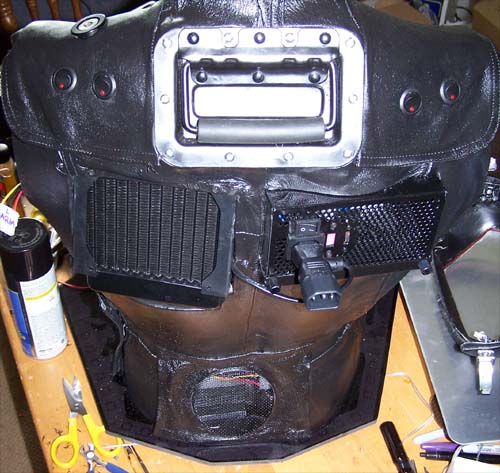
I also decided to upgrade the chest section as well by adding two meteor lights that I cut up to fit inside, they will shine down into the abdomen window section and provide an animated lighting effect to offset the lasers in the head. I used black vinyl dye to make the box, switch and button match and then installed the modded cover plate behind the section of leather with velcro on the top and bottom...
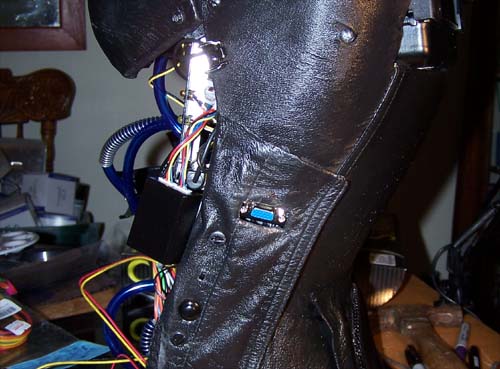
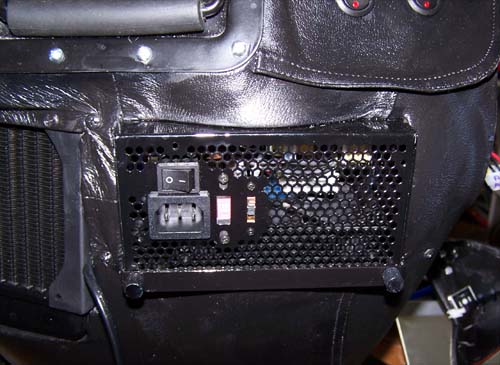
EVERYTHING plugs in on this side. Some of the components like the mouse and keyboard plug into the PC beneath the flap, for the monitor plug I made its own cutout (as seen below). The cover flap was actually one of the biggest design hurdles of this project, but I think I made good use of space by having nearly EVERYTHING (external and internal) plug in from this area, including the monitor and also control of the meteor lights.
For the back cutout I used a black mesh speaker grill that is held in place with liquid electrical tape, it looks a lot better than the black plastic mesh I had wedged in there before.
The top is glued down and the bottom is held down by velcro, it makes for easy access to the pump and is also the air intake for the PC.
I painted the PSU tray with black enanel paint and changed out the silver thumb screws for black.
Below is the back of the beast, one of the things that I decided early on was that it would have to look good from all angles, including the back. It was tempting to just ignore detailing the back since it would hardly be seen but now that it's done it really paid off.
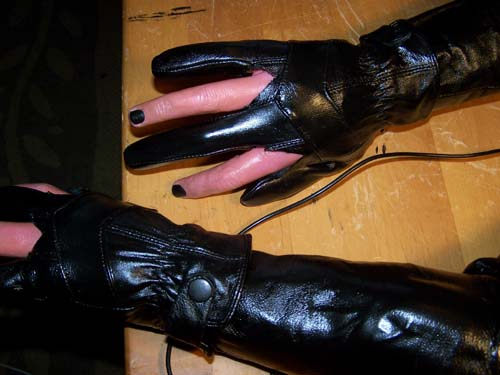
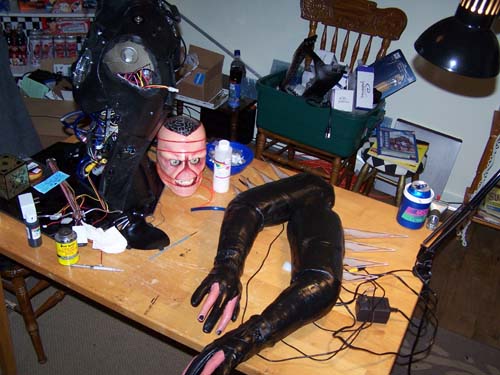
Just waiting for the springs I ordered to arrive so I can fix the tubing and leak test it. 05/23/2005 Update... Killing time. Well, the springs did not get here today. I hope they are here tomorrow (damn USPS). Since the springs are holding me up I decided to finish up some other busy work and painted/glazed the arms... I also blacked out the fingernails for visual interest.
Here is a quick snap of my dining room/work shop, I think that if nothing else the past six months have served to prove to my wife that I need a real workshop added onto our house... she has been missing the dining room.
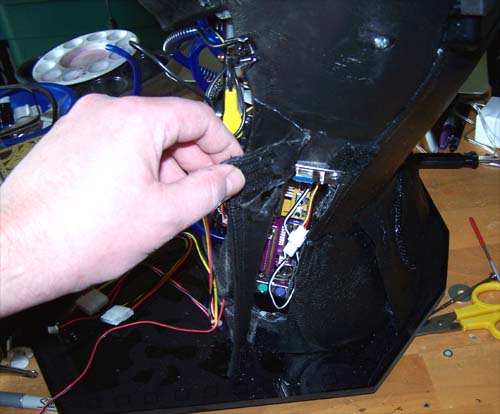
06/05/2005 Update... Almost alive. My springs finally arrived a couple days ago, I did not have time to fix up the mod until today, but I got a good deal done... and it is almost done. I painted the grill over the Fass-o-Matic black and glazed it to match the leather, if you look inside the neck you can see the sound activated EL inverter I am using in place of the Ultra EL inverters for the Glo-wire on the head. I also touched up the paint around the Fass hole where glue showed through... it looks pro now.
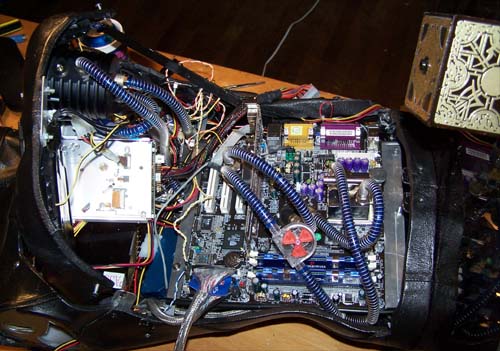
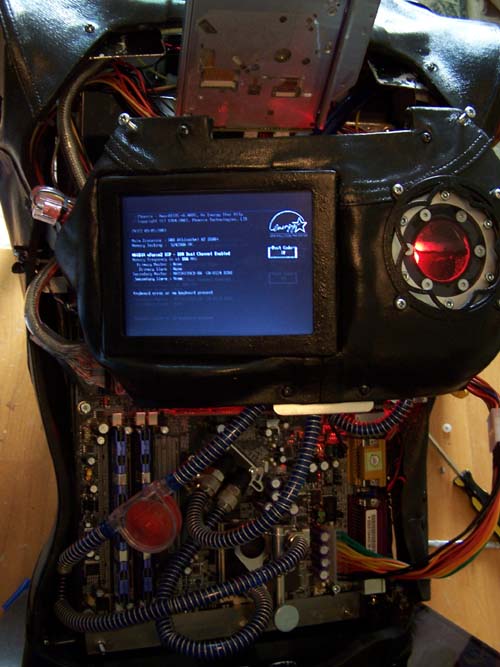
Here is a view of the guts of the monster, all the springs are attached (21 in all) and I hope that any kinking issues have been killed.
And here is the view from the other side, the flow meter sits over the RAM and will provide visual as to whether the W/C is working proper or not.
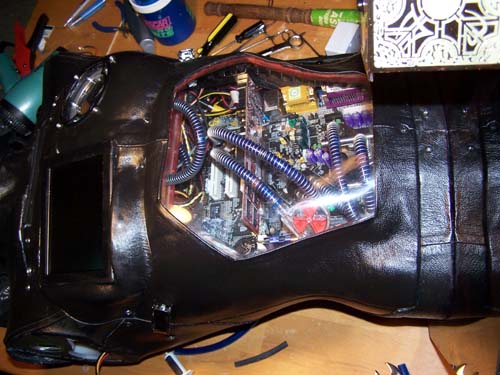
I cleaned up the wiring a little and re-attached the chest section, I then attached the abdomen window section to test for kinks... I will add water and test for leaks tomorrow. Almost done, W00T!
Water is in and the pump is up and running, decided to test a couple of other things at the same time like some of the lighting and the LCD.
Looking good so far and no leaks yet (knock wood)... I may have killed the CDRW/DVD drive, I will look into it after the leak test is through. Over four hours into leak testing and she looks sealed up tighter than a frogs bung, I know I cinched up everthing real good but I am still going to let it run overnight to make sure. Below is a shot of the flow-meter and guts, dark close up.
Ladies and gentlemen... We have
first POST!
|
|
|