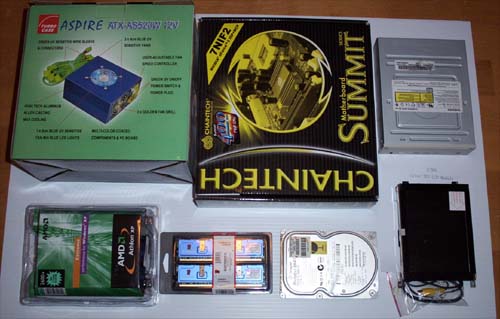
I still need to find a main hard drive and decide
on all the water cooling parts, but the list above details what I have to work
with so far. I also need to order the lighting mods, I hope to order
more parts in a week or two, I will update the list as it happens.

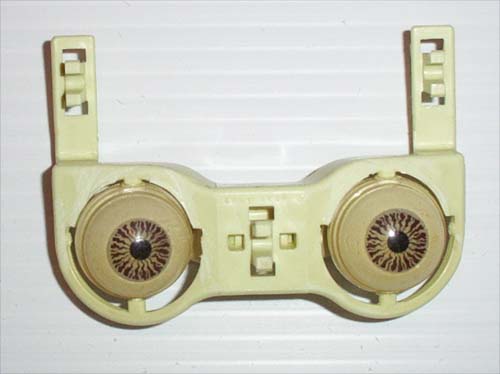
In the picture above you can see the skull
and eyes I plan to use and two puzzle boxes, one assembled and the other in
pieces. I also bought a couple of Halloween prop arms for the mod
because hands are a bitch to sculpt and I don't have that kind of time, if you
look closely you will notice that they are both right hands... I will show how
to fix this problem later.
10/26/04 Update: Lament Continued...
Work progresses slowly for my HellRaiser mod, I
am still trying to find and purchase all the parts for this mod and the
Fass-o-Matic reservoir that I planned to use is out of stock everywhere I have
looked (in this country anyway). I even emailed Innovatek about a week
ago, but have as yet heard nothing back... so that sucks, but it doesn't halt
progress and I will get one somehow (hopefully). More bad news, my sons
power supply died and he now owns the slick Aspire PSU that was going to be used
in this mod, but it is just bad news for him. That
is enough bad news, good news... I ordered more parts for the mod, including a
new PSU more suited to the mod, which should arrive this week. First up,
hardware (other than W/C) has been completely ordered, additions to the current
parts list...
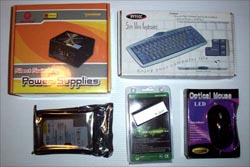
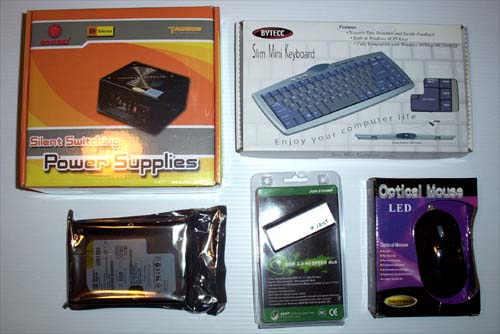
JAHT USB 2.0 4-Port Hub, Model JUH-2104NP - I
will put this powered USB hub into the wrist so that the keyboard and any front
side peripherals can attach easily.
POWMAX MUACR01 Black w/ Red LED Optical Scroll Mouse PS/2
- This mouse just looks HellRaiser to me, maybe I will have an applique made
for it.
COOLMAX 400W CX-400B, BLACK, Taurus CX Series Silent Power Supply; 1 x 120mm fan, 3 Speed Fan Control Switch ( Auto, Low, Medium)
- Since a two fan solution PSU makes more sense for this mod (that and my
son has the PSU originally planned for this mod) I ordered it.
Western Digital Special Edition 120GB 7200RPM IDE Hard Drive, Model WD1200JB
- An 8GB hard drive will not cut it for this system, not that I expect it to
survive the window mod anyway, so the 120GB WD drive was ordered.
10/28/04 Update: Thinking It Out
I walked around an ACE hardware store with
around $50 in Alum-Angle, hinges, latches and parts I would need to make the
torso of the case from scratch... and that was not even including what I was
going to need to cover it in screen, fiberglass cloth and resin. I looked
at all the stuff I had in my cart and started doing the math, it was then I
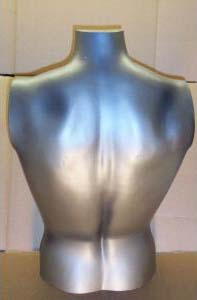
decided to put it all back and look for an easier way. Fifteen minutes
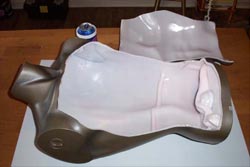
later I was back home and on e-Bay, where I found, bid on and won this mannequin
torso for $34.95 USD shipped, WOOT!


I can't wait for it to get here so I can crack
it in half, measure things out and start filling it with parts.
11/01/04 Minor Update:
Well, I am still waiting for the mannequin
torso and decided to move forward with the mods that are not dependant upon the
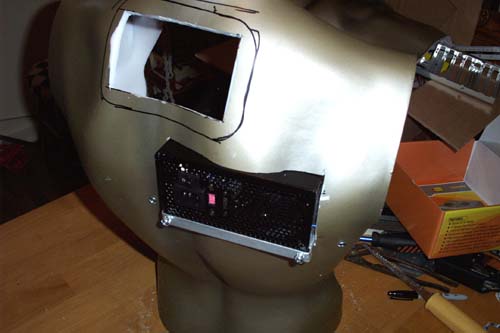
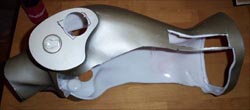
torso... which leaves the head to work on. The mod officially begins with
a few cuts... Boglin eyes have eyelids, both a moveable top eyelid and a static
lower that need to be removed.
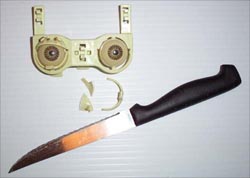
Pretty good results, considering I cut off the
plastic eyelids with a Ginsu steak knife.

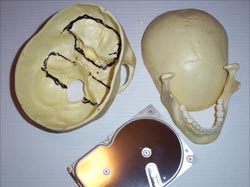
Next, using a Sharpie marker I marked out where
the eyes and hard drive would be located within the skull, and I also polished
up the outside of the 8GB drive.
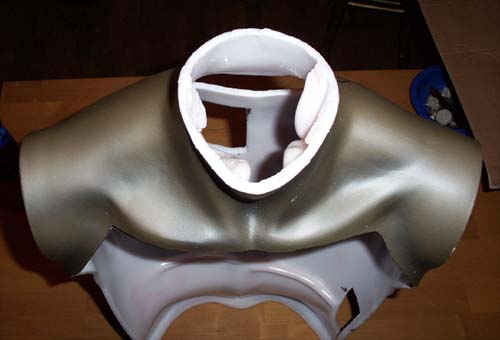
The mannequin arrived, and with it the need to
rethink a few aspects of the mod. The CD burner will absolutely not fit
into the mod, I am looking into alternatives but everything I've found so far
looks to put me over budget. Oh well, I will do what I can now and figure
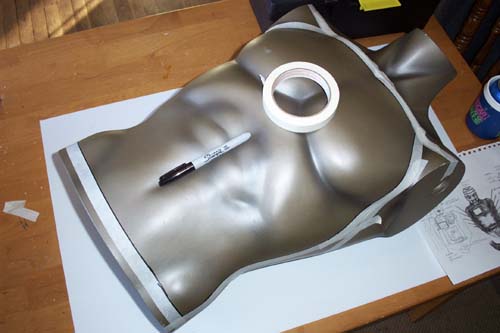
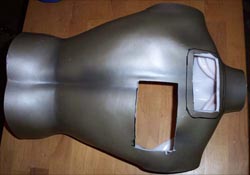
that all out later. On that note, I taped off the section to cut out of
the torso and outlined it with a Sharpie...

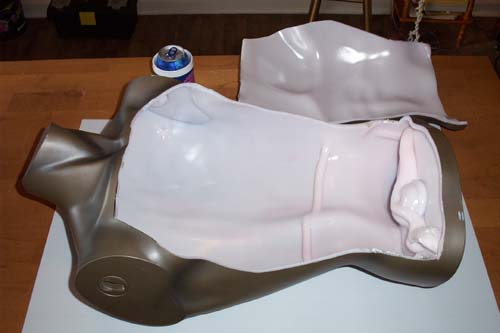
I cracked it open with a Dremel and a jigsaw,
no easy task as the contour of the torso was a factor and also it wanted to melt
as I cut it. Slow and steady wins the race and now I am faced with the
difficult task of trying to make everything fit, there is a lot less space than
there appears and the motherboard I chose is going to be a tight squeeze, but I
will make it fit... that's my thing, it's what I do. Time to mull over a few
changes and then kick this mod into gear.
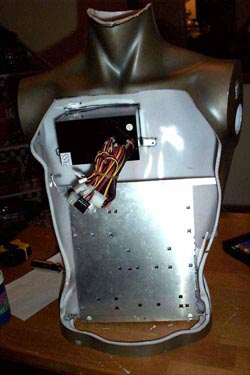
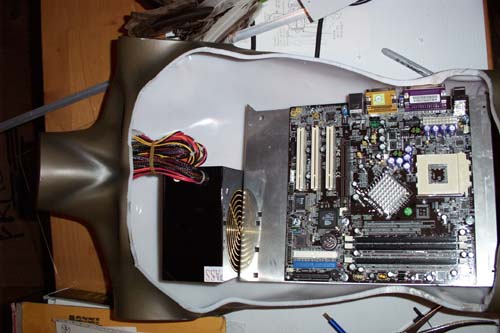
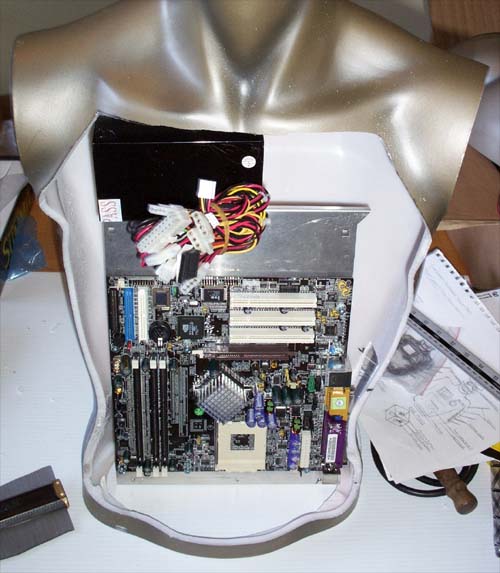
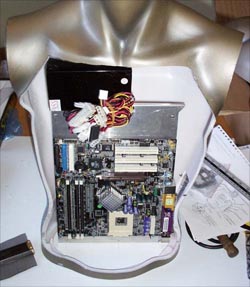
I cut down a Lian Li motherboard tray, it is
not finished yet and more material will be taken off the top. I was
concerned with the amount of room (or lack of) around the sides of the board so
I mounted it to the tray and set it and the PSU in for a test fit. You may
notice that the board is tilted to the back and is also upside down, there are a
couple of reasons for doing it this way. First, it puts all the ports in a
more reasonable position relative to the case. Second, I may be able to
add a low profile AGP card and the PCI slots will be functional. Third,
the positioning adds visual interest and should look perfect when the abdomen
area is windowed.

I had to cut out the bottom before I could get
things situated, there was a big lump of plastic on the bottom inside the
mannequin (see two pics up) that made this more difficult than expected.
11/14/04 Update: Doing The Mannequin Hack.
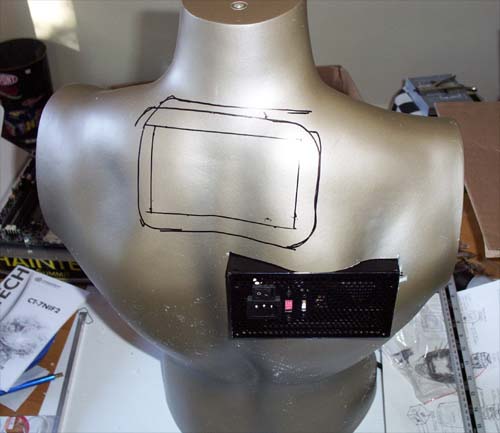
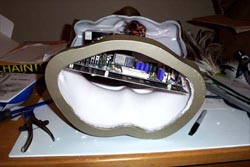
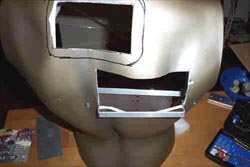
Cutting straight lines into the curves of the
mannequin is less than a science, there is a lot of eyeballing and test fitting
involved. Below you can see the cutout with the PSU inserted for a test
fit, above the PSU are the guide lines for...

a handle that I am putting between the
shoulders, that way I won't have to hug it to lug it... MuWaHaaHa, It's going to
be a LAN rig.
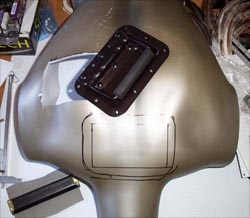
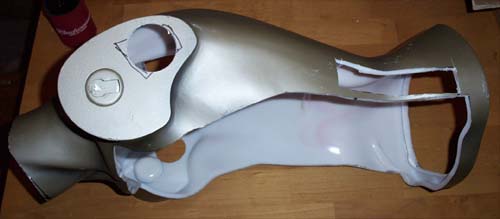
The finished back cut outs, I will still have
to cut a spot for the radiator but will wait until I get it before I do more
cutting (to be sure everything lines up correctly).
I used a hole saw to cut circles out of the arm
nubs so that wiring to the components in the arms can be run internally, I also
cleaned up and filed the cutout for the mother board connections.
The neck was a pain to cut open, there were big
blobs of fiberglass that required a lot of Dremeling to shave down.

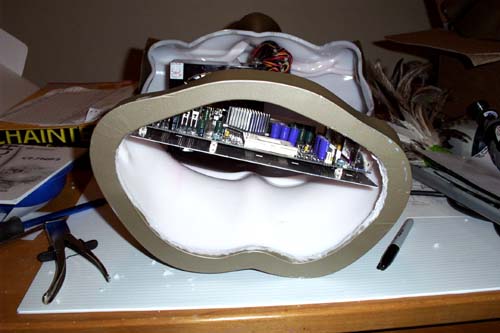
Here we go with another test fit. The
motherboard tray will be cut down and attached tomorrow, I will also start
building the internal framework out of Alum-Angle and then move onto the chest
section.
11/15/04 Update: Creating Support.
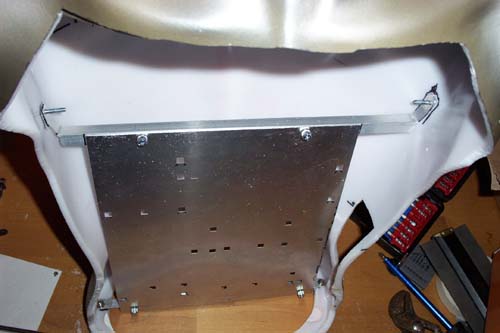
Well, it's tomorrow already and the motherboard
tray has been cut down and installed, I decided to use thumbscrews to attach the
motherboard tray, that way if it needs to be removed for any reason it won't be
a hassle.
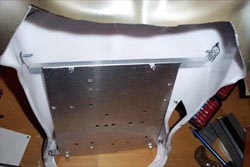
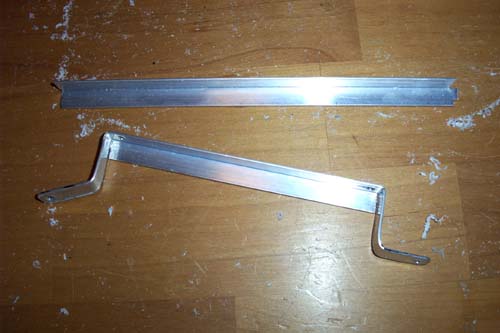
I am using Alum-Angle to mount everything and
so far it is working great, it cuts and bends easily and provides a good deal of
structural support. Below is a chunk of Alum-Angle I cut with a nibbler,
bent with pliers and then drilled out to fit the PSU.

Next is the custom made Alum-Angle PSU tray
installed, it will later be painted black to match the mod.
The PSU fits into the makeshift tray really
well and is held firmly in place by two thumbscrews, the mounting should prove
to be sufficient since it can't move with everything screwed down tight.

Here is a view of the inside showing the
mounting of everything that has been installed so far, the mod is moving right
along but there's still a lot to do...