|
Projects | Guides | Gallery | Articles | Contact |

|
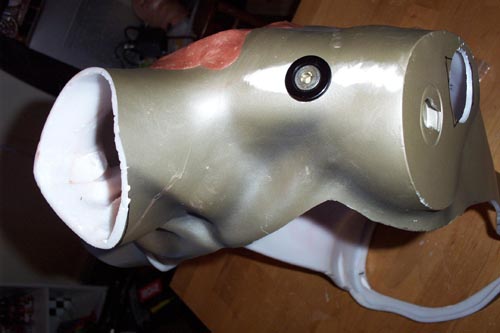
Work Log Page: [1] - [2] - [3] - [4] - [5] - [6] - [7] - [8] - [9] I used a 1" hole saw to cut the opening for the fill port and tested for fit, the plexi glass nut that comes with it will not fit so I plan to screw it into the mannequin itself.
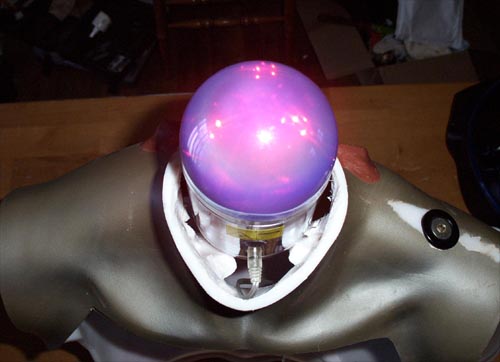
I decided to dump the hard drive in the head idea in favor of putting a Laserpod inside the head, below is the unit in blue/red.
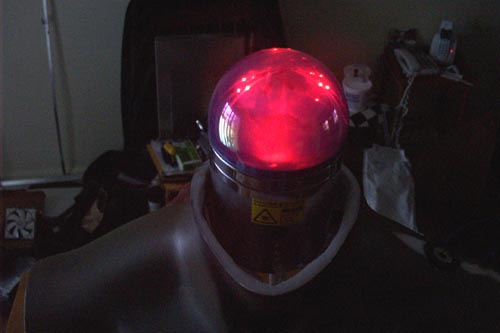
And the Laserpod shining all red, which will be the setting used for this mod.
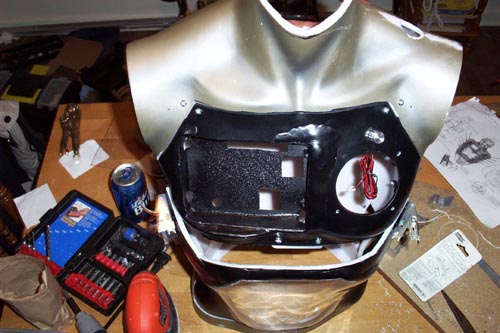
I cut the abdomen section into two pieces and attached the top half with bolts, then I lined up the windowed section and used draw latches to hold it in place.
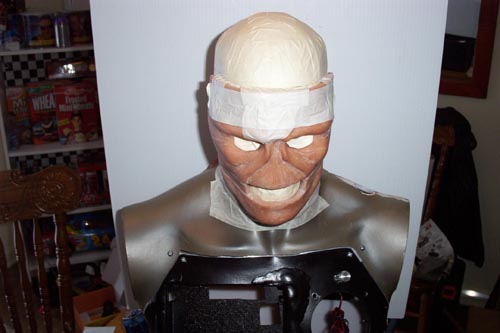
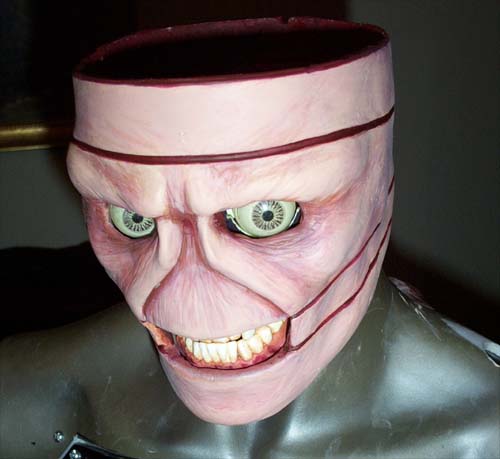
Now it's time to get cracking on the head, first I positioned the face in a more downward angle than in the first attempt and it makes it look like he is leering at you. I then started building up the back part of the head with Magic Sculpt.
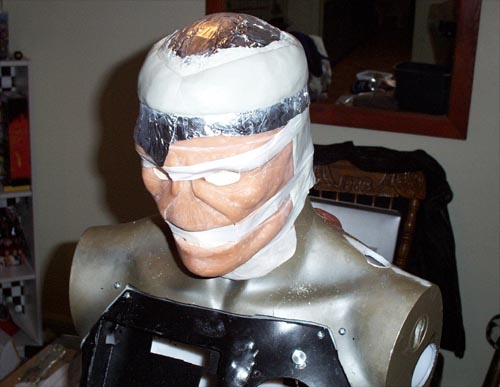
After the back of the head dried I began work on the top of the head. It doesn't look that good in the picture below and when it dries I have a lot of sanding to do to get the edges flush.
Two hours of sanding and everything lines up pretty tight, I will have to touch up a few spots with some Magic Sculpt, but for the most part the hard part is over.
Here is a side view, it won't be long before I can start painting the head. That's all for now, more updates soon.
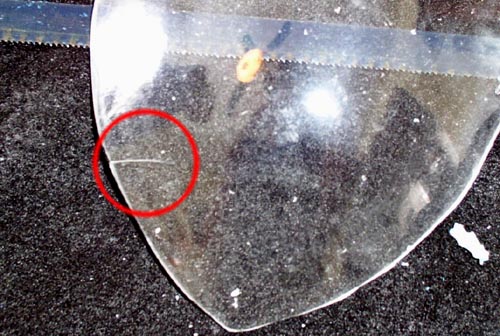
02/09/2005... Doh! I was trying to heat up the edges of the head window with a heat gun, to curl them under a bit... well, in the process I cracked the head window and that sucks, kinda.
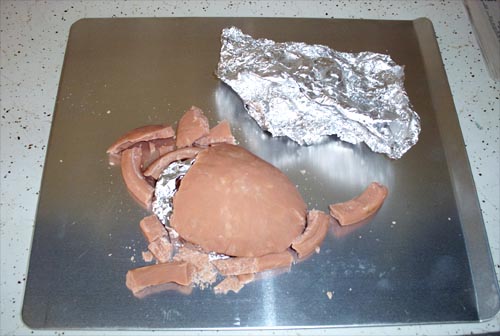
I didn't really like the fact that the window sat on top of the head anyway and this gave me an excuse to make it right. I made a Sculpey cast of the inside of the top of the skull, baked it and then formed a new top window to fit inside the top of the head, below is the cracked and destroyed Sculpey that was used.
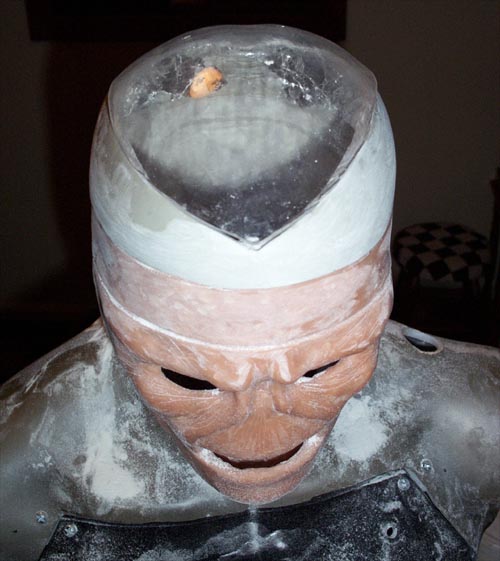
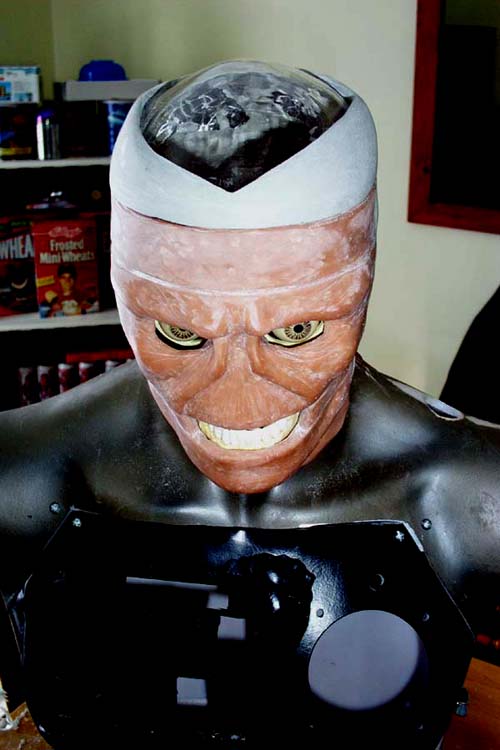
I did a test fit of the top window using masking tape, I also cut out the teeth and placed them inside the head for a test fit... looking pretty creepy so far.
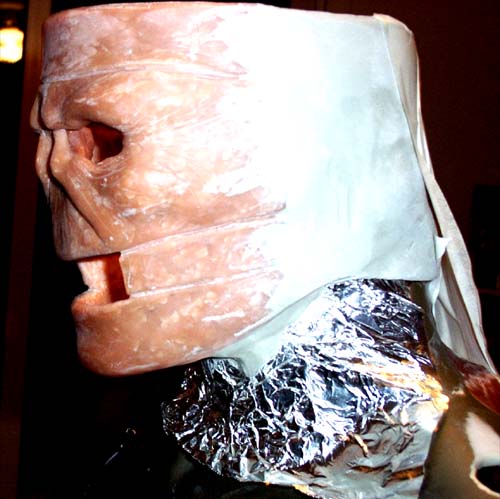
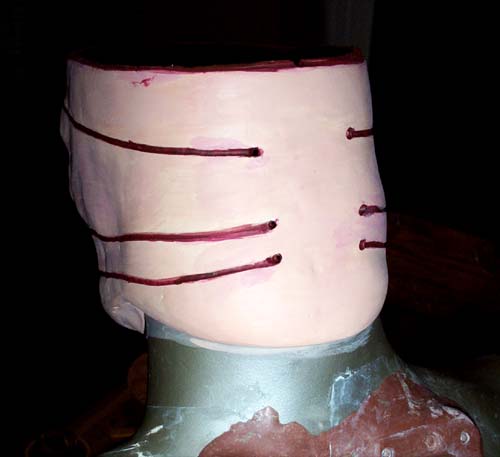
The neck was a problem, when I baked the Sculpey face things kind of warped and the neck sat too far away from the mannequin.
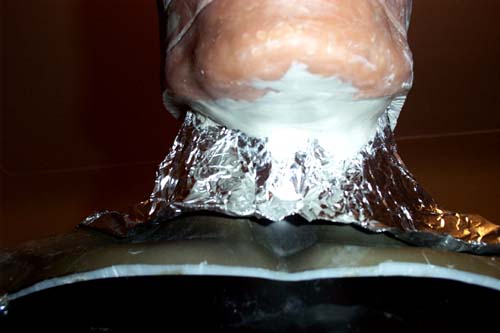
Knowing how fragile Sculpey is I cut it off and re-did it using Magic Sculpt, it is a much tighter fit now.
Here is a top down view, I added a lip so that the head will sit solid and not fall off.
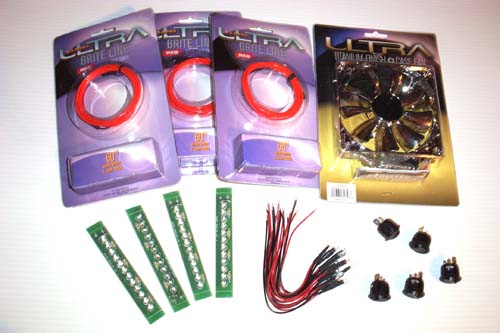
02/13/2005... Give me head. More parts for the mod, first up are three 5' lengths of glo-wire and a slick 120mm titanium fan, sponsored by Ultra Products. Continuing clockwise are five red LED rocker switches, ten pre-wired 12V LED's and four 12 LED 12V brake lights.
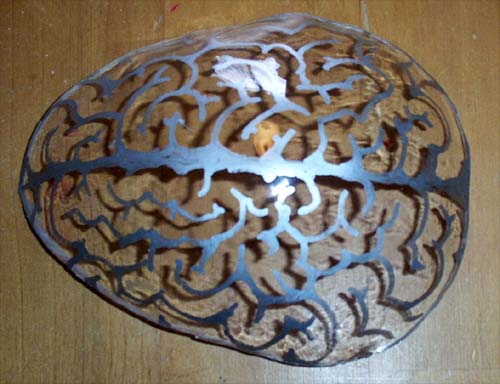
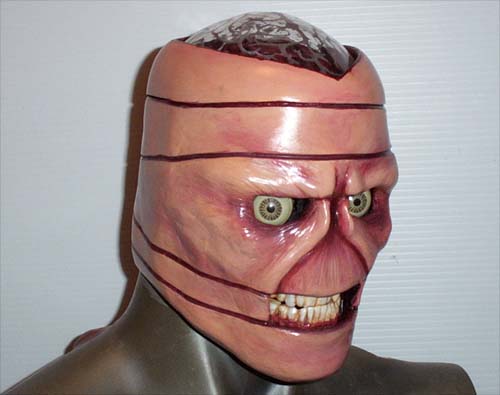
I took the newly formed plexi window and drew a brain pattern onto the outside of it using a silver Sharpie marker.
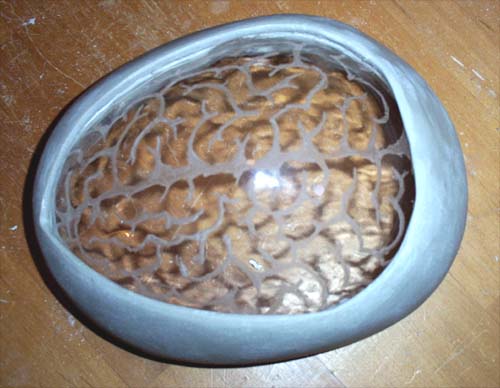
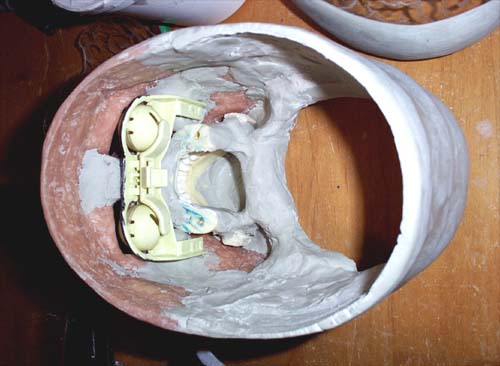
A couple hours of Dremeling later and I had a cool custom brain etch. I then used Magic Sculpt on the inside edges to hold the window in.
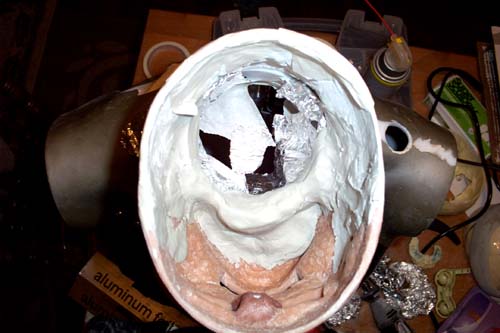
I also used Magic Sculpt to hold the teeth in and to set the eye assembly, below is an inside view of the head.
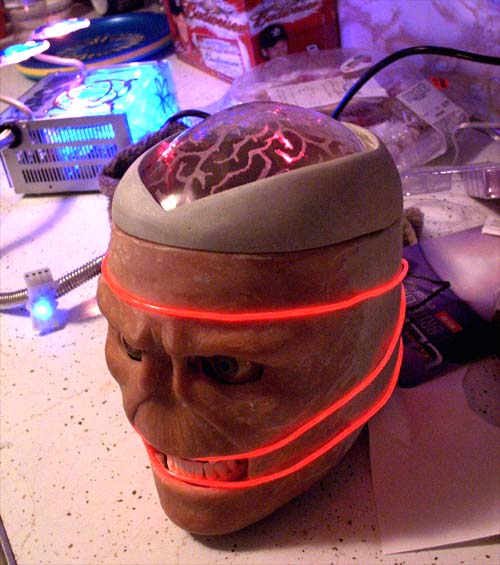
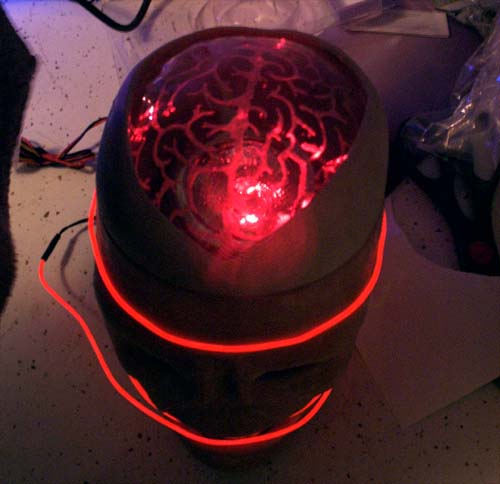
Once everything was dry it was time to mock up the lighting mods for the head and see how it looked.
The 5' glo-wire was a little short and it should continue over the seam for the top section, but this is just a test and if I need to use another kit it is available since Ultra shipped me three. The glo-wire looks really good and the Laserpod looks kick ass shining onto the brain etched window. I don't have too much left to do to the head and paint will hit it soon.
02/18/2005... Finally, Good Head. I began painting the head by laying down a base coat and working it up with more color as I went, I was planning to airbrush the head but started with a paintbrush and liked the results. Note the tight fit of the top of the head...
Here is the top of the head removed, since you will be able to see it from the top window I painted the inside of the head a dark blood red.
I drilled out holes for the Glowire to pass through on the back of the head, the paintjob is still rough and will be cleaned up.
Below is a test fit of the Glo-wire, I almost talked myself out of using it because it looks so cool with just the bloody lines in the face but it looks kick ass installed and on. I also did a little more paint detailing.
I removed the eyeballs and painted the assembly for them black, I also added the final detailing to the head (including making the top window cutout bloodier and jagged) in preparation for varnishing. Below is the head after the first glaze coat, he almost looks scarier without eyes...
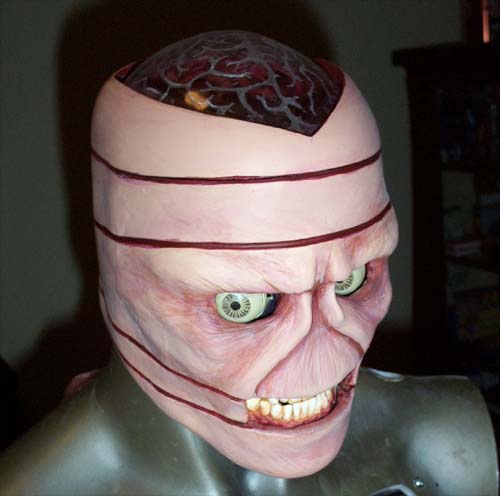
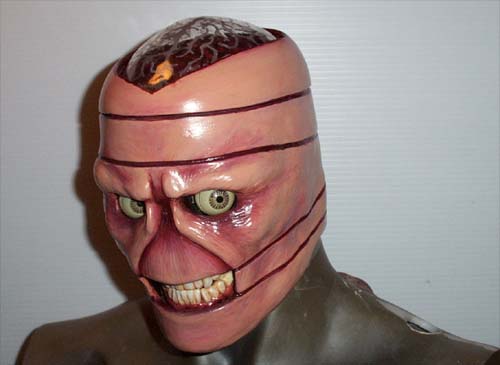
Three coats of varnish and the eyeballs reinstalled, the finished product is below... freaking creepy if I do say.
A gratuitous shot of the other side... good head indeed. I still have a little more cutting to do to the mannequin and then I will start working the leather onto it.
|
|
|