|
Projects | Guides | Gallery | Articles | Contact |

|
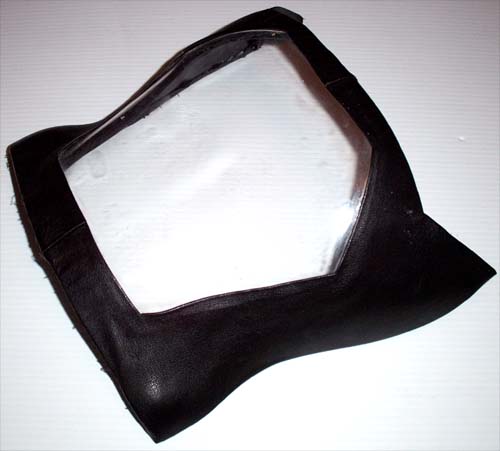
Work Log Page: [1] - [2] - [3] - [4] - [5] - [6] - [7] - [8] - [9] 02/20/2005 Update... Wrap that rascal. I started wrapping the torso in leather, or I should say I wrapped the abdomen window section today. I seamed out my leather jacket, which took hours, and made the pattern for the window out of paper. I transferred and cut the window section out and started gluing things down. The window has been simplified in comparison to my original sketch, but I think it will tie in better when finished this way.
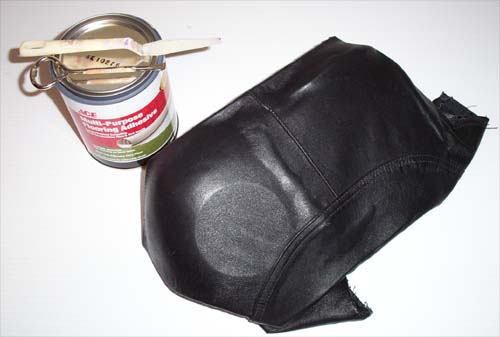
02/23/2005 Update... Wrap that rascal, continued. To glue down the abdomen window leather section I used Gorilla glue, not the best choice... so I went to the hardware store and picked up some vinyl flooring adhesive. This stuff works great, below you can see the chest section with the leather glued down.
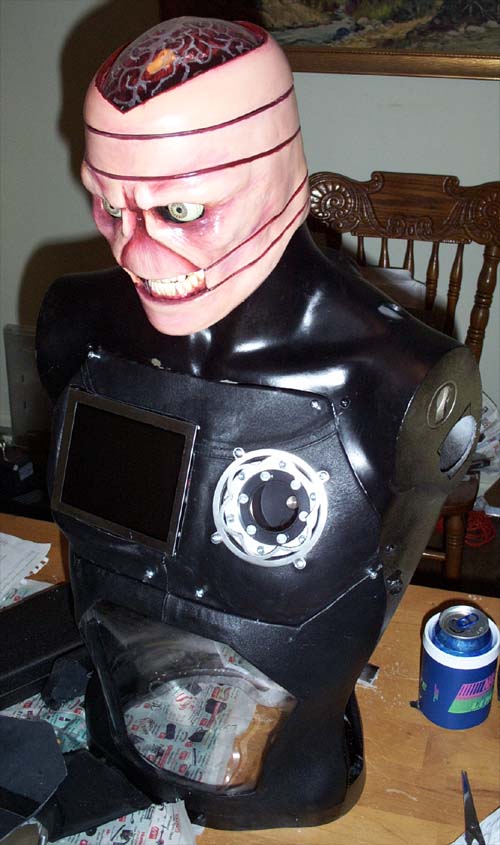
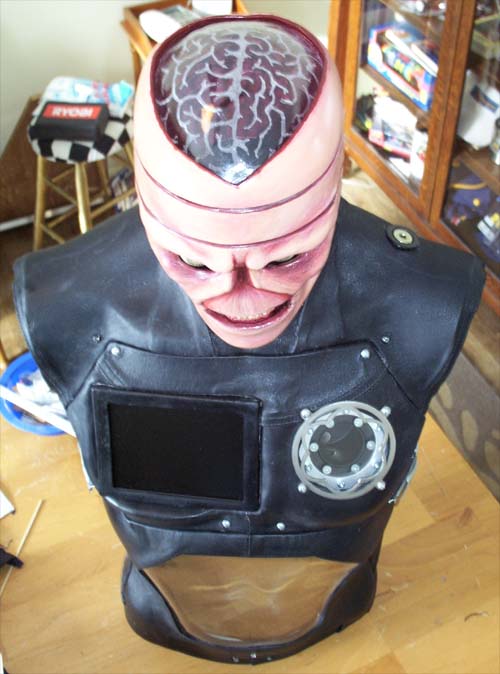
Time to test fit everything so far, if I had to I could still remove material from the mannequin if everything didn't fit right, thankfully it lines up beautifully.
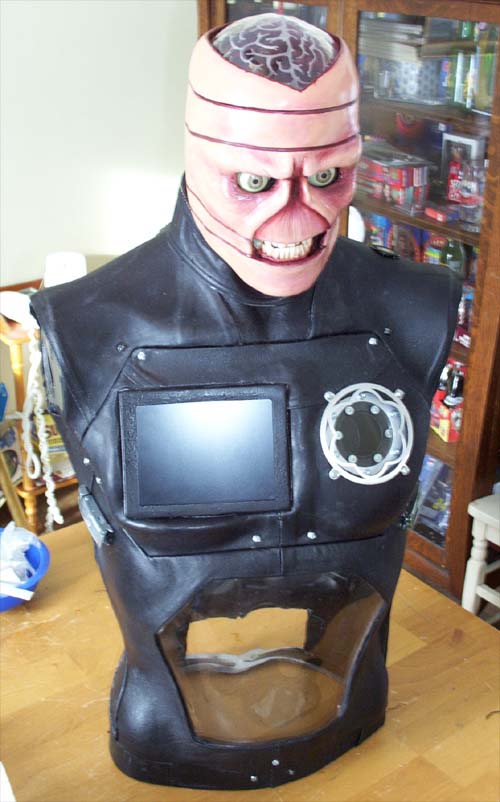
I cut out the sections of leather for the Fass-o-Matic and the 6" LCD and installed them. I put everything together to get a rough idea of the finished mod, it's looking pretty sweet so far.
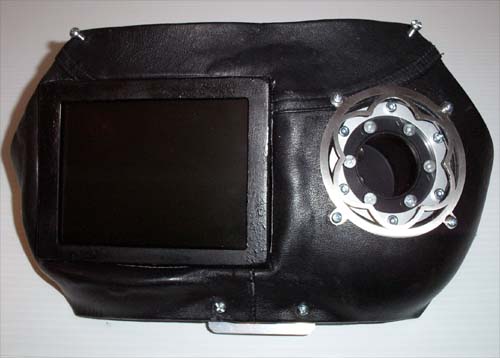
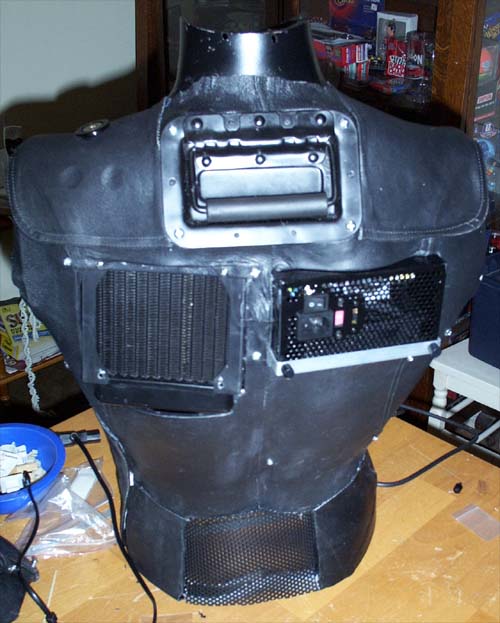
Below is the finished chest section, I added the cover plate to the LCD to hide the wires on the side of the unit and it looks better now than without it.
I put the draw latches back onto the abdomen section and fit it together on the counter, now I have to tackle the main body... and I am running out of leather. I will have to buy a Goodwill leather jacket or something now because the arms of my jacket are being used for the torso... which leaves him limbless (for now).
02/27/2005 Update... Wrap that rascal, almost finished. Almost all the leather work is finished, there are a couple of spots that I need to attach some Velcro, like the side section for the motherboard ports...
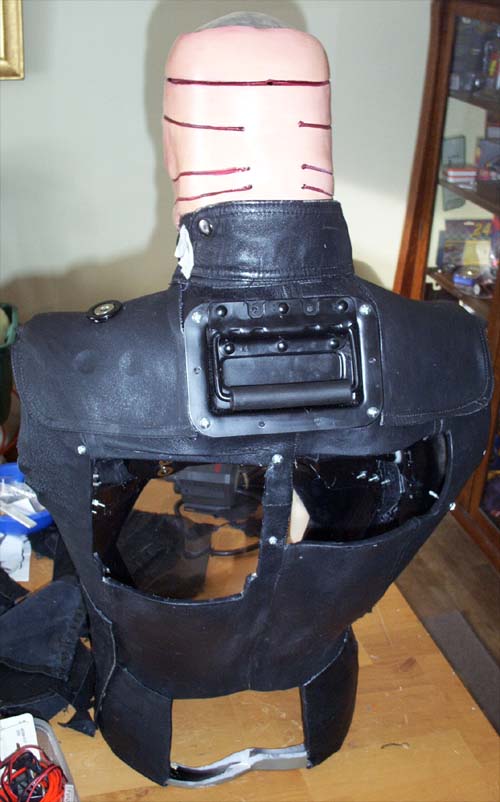
I also need to Velcro the piece of leather that will wrap around the neck. Since the leather adds a layer of thickness to the cut-out parts of the torso I decided to run a final test fit of components, below is the shoulder mounted fill port and the handle.
The abdomen and chest sections are finished, all the hardware is installed and it lines up nicely. There are still a couple of things I intend to do to make them even better, but it will be one of the last things I do.
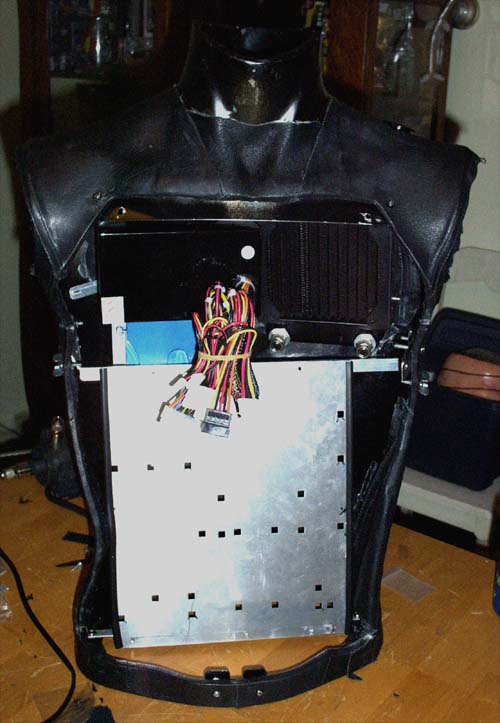
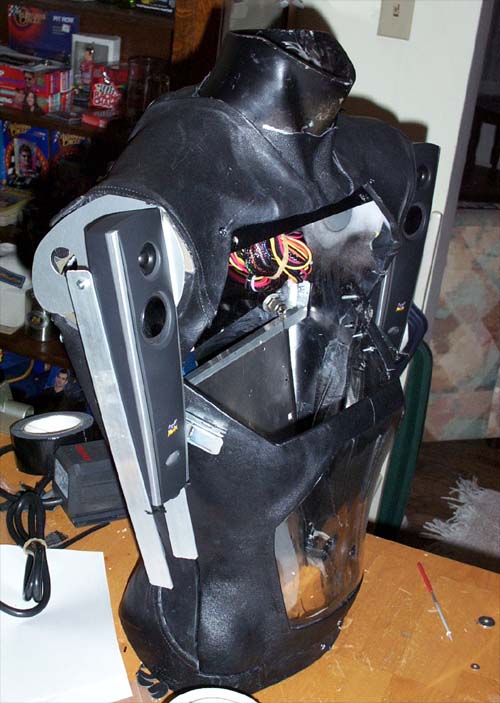
I did a test install of the PSU, HDD (with WC block), radiator (without the fan) and the motherboard tray. I lined the side edges of the motherboard tray with some door edge molding so that the tubing will not get cut by a sharp edge where it comes around beneath it.
Here is a shot of the back. I used a plastic mesh to cover the area on the bottom where the pump will be installed to allow easy access to the pump and fittings if needed, it blends in well and will also serve as an air inlet.
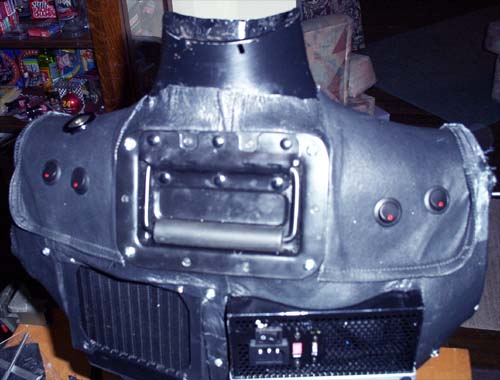
03/02/2005 Update... Switches and arms. I installed four red LED rocker switches onto the shoulder blades to control the lighting mods.
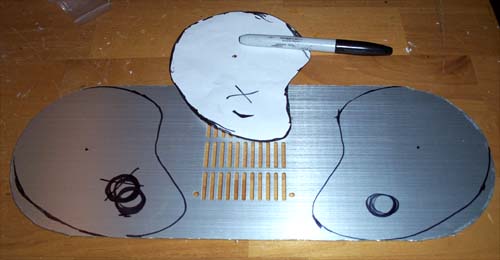
To begin making arms I first drew and cut out a template to trace onto the scrap aluminum from the top window on MOBY2... never throw good scraps away.
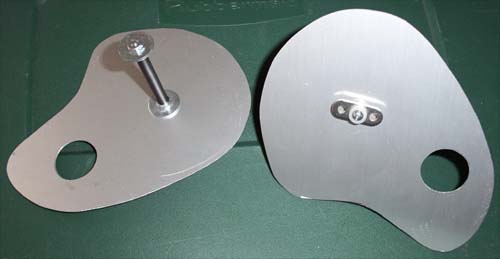
I cut them out with a Dremel and filed them smooth, next I puzzled together some hardware so that they can attach to the torso.
Below is a test fit, everything lines up good and feels solid.
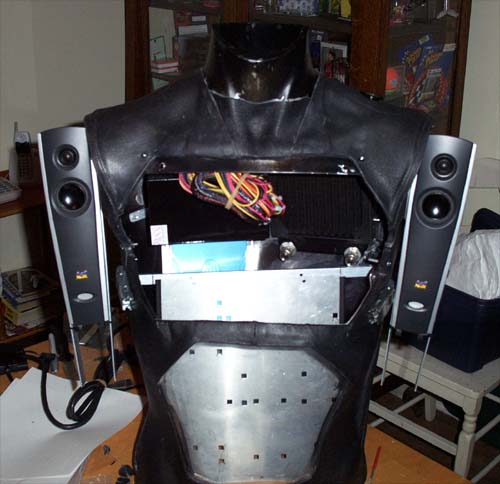
I removed the base from both Viewsonic speakers then cut and drilled four strips of flat Alum-Angle to hold them in place.
Here is a parting shot of both speakers installed, not too shabby considering I built the assemblies on the fly with no real plan.
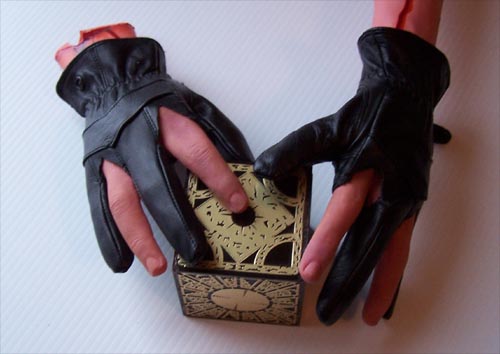
03/09/2005 Update... Hands and Spikes. I took the two right hands and made one of them a left hand by cutting off the thumb and pinky and duct taping them on their opposing side. I also removed the lining and cut down the pair of leather gloves.
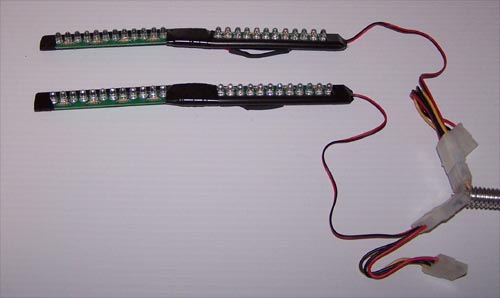
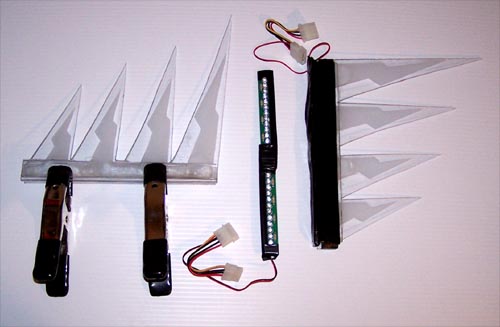
I connected together and then soldered a fan power cable onto each of the two side by side 12 LED brake light assemblies
Below are the spikes for the backs of the arms being assembled, I made the spikes out of scrap plexi from the local hardware and each consists of four layers of plexi. The middle two layers are the spikes, the zig-zag spike layer was sanded for a frosted effect and the inside edge was heat polished, the outer two layers are there only to provide a channel for the rows of LEDs. I glued the layers together and when dry I placed the LED strip inside the channel and wrapped it with duct tape for good measure.
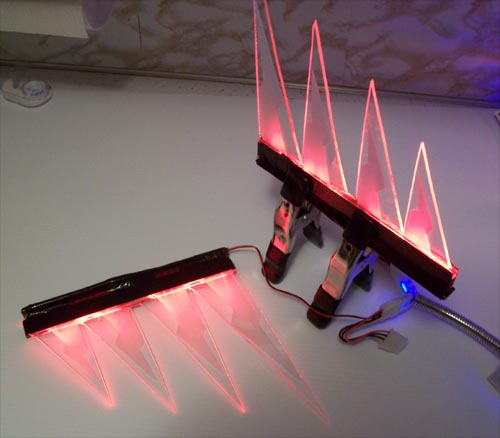
Here they are all lit up (with flash on)...
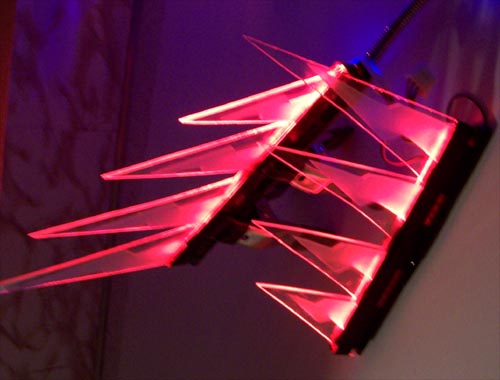
Below, no flash... much bling.
|
|
|