|
Projects | Guides | Gallery | Articles | Contact |

|
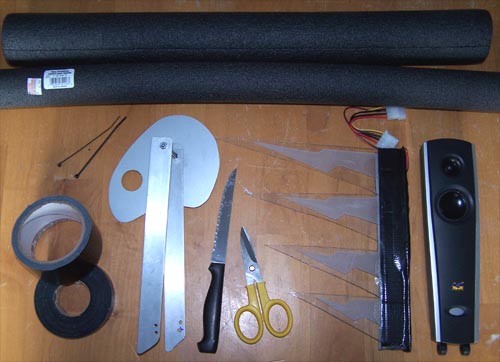
Work Log Page: [1] - [2] - [3] - [4] - [5] - [6] - [7] - [8] - [9] 03/15/2005 Update... Arming the Animal. We recently replaced our hot water heater and didn't use all the foam for the pipes because they were short, the leftover piece (top of below pic) will be formed into the flesh of the arms. I also bought a long length of a smaller diameter thinner foam to fill in the musculature of the arms. Everything I used to make the arms is shown in the picture below.
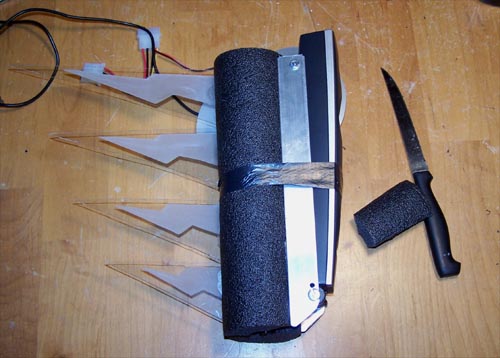
Below shows the upper arm assembly roughed out and ready for some foam detailing. The insulating foam tubing cuts easily with a serrated edge steak knife. I also plugged in all the cables for the speakers before I started filling it in.
And below you can see why... it is all held together by good old black duct tape.
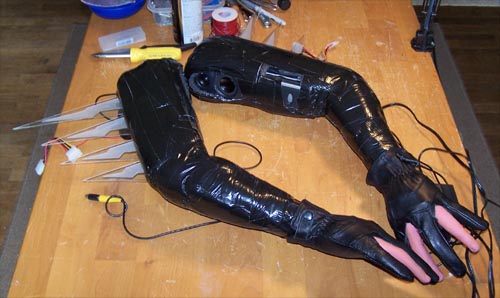
Here they are almost finished, I added a little more foam to the left forearm since the below picture was taken and it no longer looks deformed (though for something like this deformity wouldn't really matter). The arms are very light weight (around 5 lbs. each), which is a good thing.
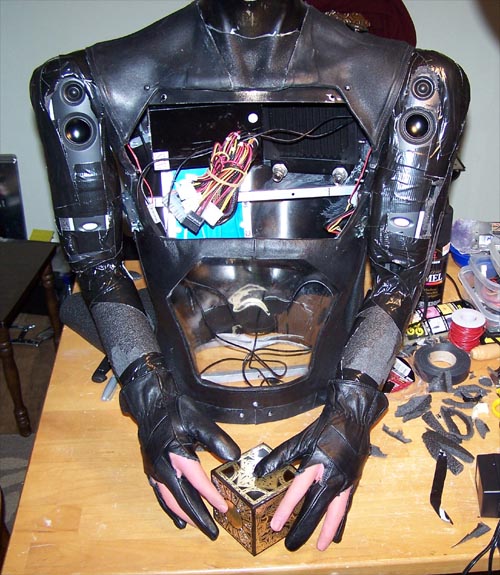
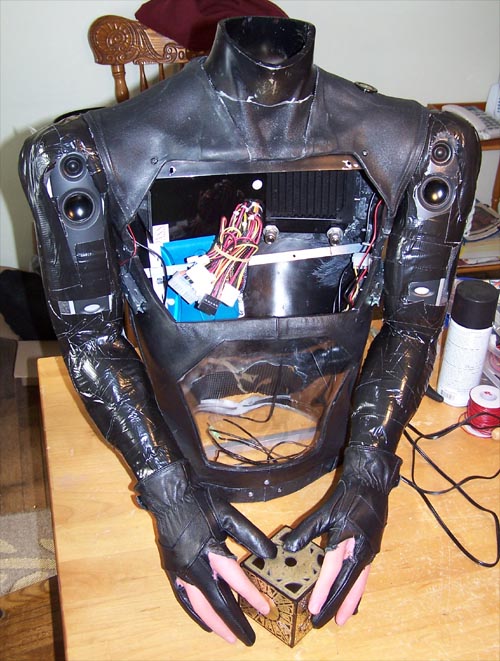
The picture below shows the arms fleshed out (minus what I added to the left forearm) and installed. The arms go on and come off really easily, which was one of my big goals for this mod and necessary for the removal of the abdomen and chest sections. Now I have to wrap them in leather, that's not as easy as it sounds due to the spikes and speakers... but I have a plan.
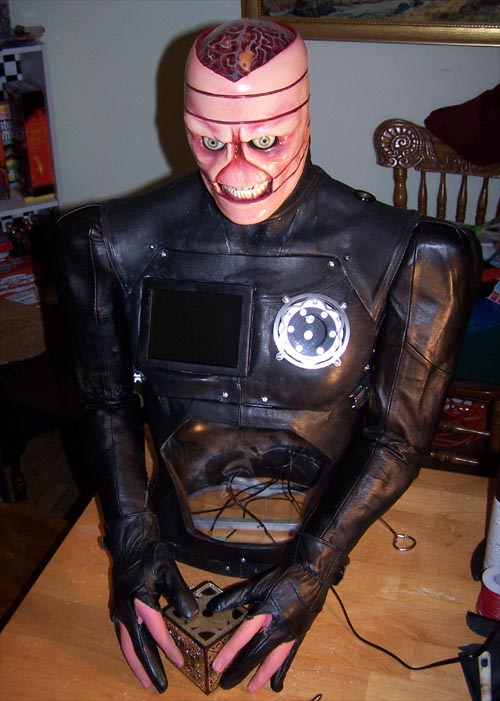
Here are the arms all wrapped up and installed, they came out better than I could have hoped and things are moving right along.
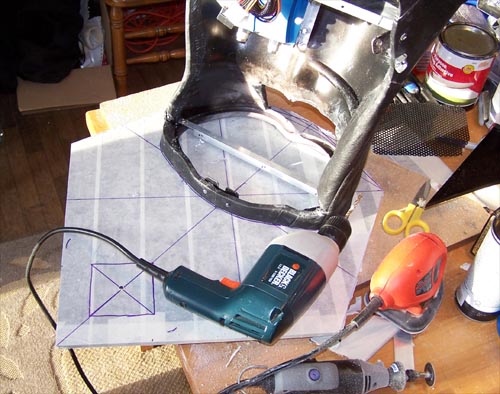
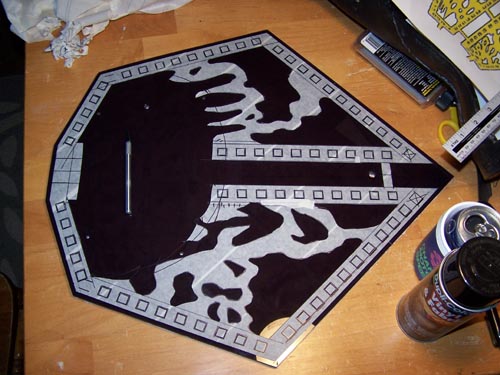
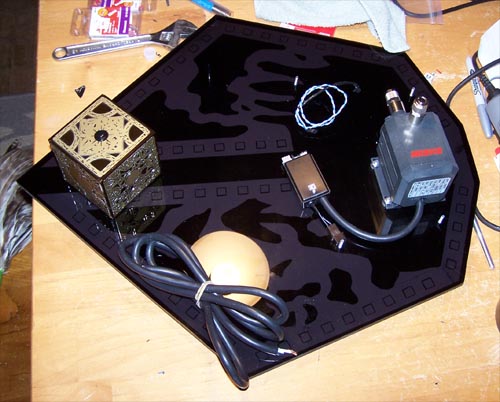
04/02/2005 Update... Creating a Base ACRyan sent one of their smoked Acrylpanels for me to use as a base for this mod, I have nothing but good things to say about this product... it is thick as hell and very easy to work with. I masked the entire sheet off both front and back and marked it with a sharpie for cutting.
Now that it is cut to shape I will mark and drill the holes that will hold the mannequin to the base. While I was at it I also drilled holes for the puzzle box and wiring to go through.
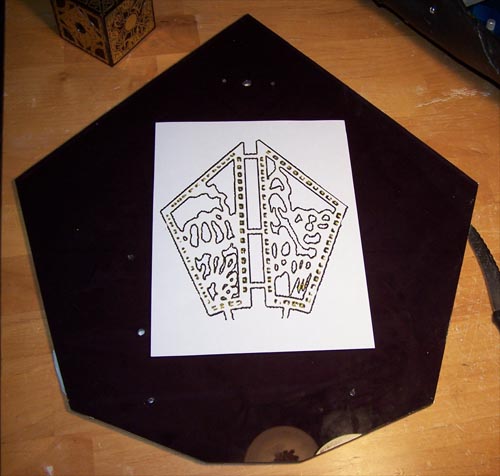
I had decided right after I got the Acrylpanel that even though it was plenty sharp looking as is that it would look better if I vinyl dyed a section from the puzzle box onto the bottom of it.
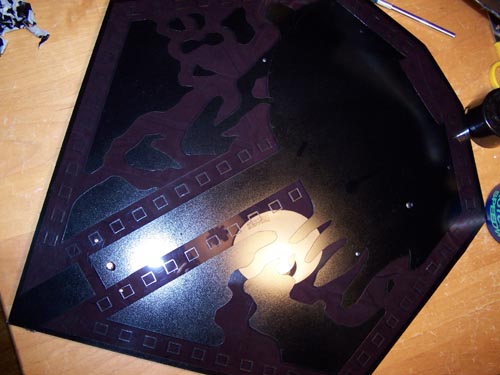
So I re-masked the whole thing, drew my pattern onto it and attacked it with an X-Acto knife. Below is the masked section all cut out and awaiting a coat of black vinyl dye.
And in the next picture you can see it after I removed the mask, next I sprayed it with a very pale yellow coat and topped it off with a final coating of black.
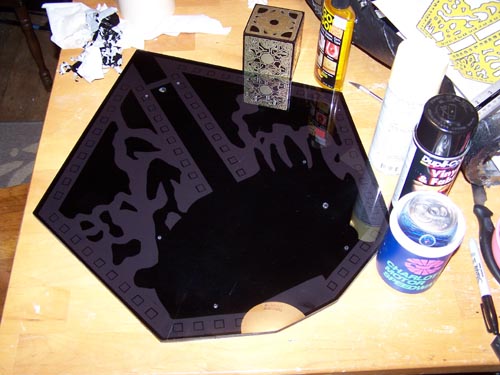
And the finished back painted Acrylpanel base is below.
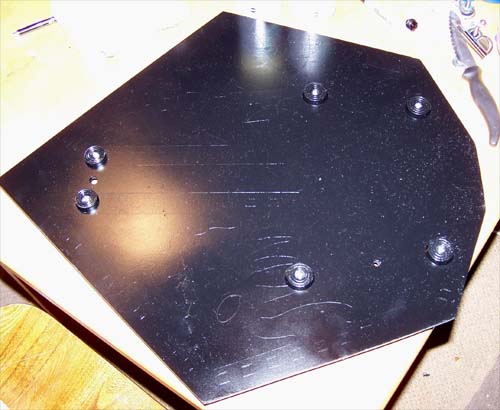
Since there will be wiring for the power button below the base I decided to use some case feet from a Lian-Li and two that I snagged from my daughters PC on the bottom of the base. I vinyl dyed all of the feet black and installed them.
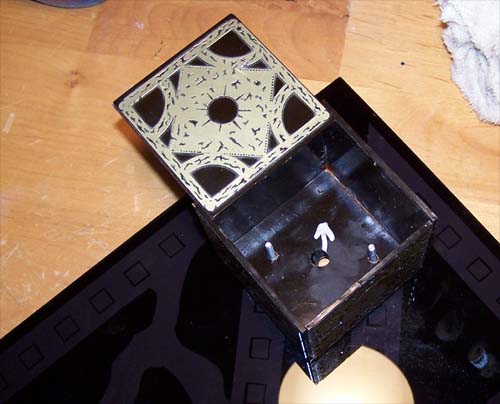
Next I test installed the puzzle box, it will be held in place two screws inside it.
The switch is installed into the box and the wiring is run beneath the base, the water pump is also installed onto the base. The long bunch of wire at the bottom of the picture is how much I removed from the back of the pump.
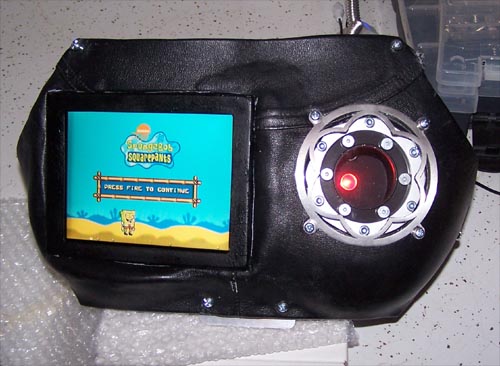
04/27/2005 Update... Pulling things together. I got all the wiring finished up, what a nightmare. It still needs to be cleaned up, but everything is set to be plugged in. You can see the power button on the box in the lower right corner of the picture below.
Finishing up the wiring also meant hooking up the 6" LCD screen and changing out the blue Fass-o-matic LED for a red one. I plugged in a SpongeBob handheld video game to test the screen out... SpongeBob. Not far now and I will be able to let my wife have the dining room back... LOL.
|
|
|