|
Projects | Guides | Gallery | Articles | Contact |

|
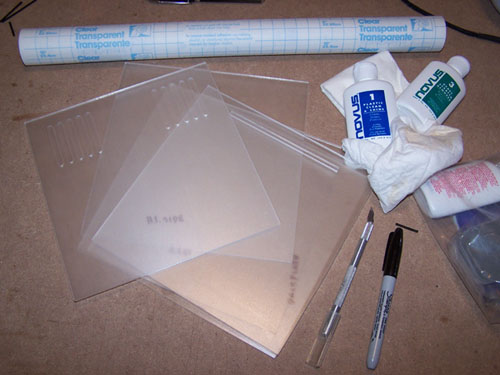
Work Log Page: [1] - [2] - [3] - [4] - [5] - [6] I spent a few hours with the polishing cloth and Novus to get the worst of the scratches out of the Acryl Panel. Clear contact paper applied to both sides should keep the panels from getting any more damage while I use them in mocking up assembly of the external casing for the mod.
It took me forever and a day to come up with a plan for building the outside casing for this mod. I had at first wanted the side panels to be hinged at the bottom so that they could fold down when the top was removed, which would've ultimately proven problematic so I nixed the idea. Next I thought about making two sides on hinges and two sides where the panels would slide up and out when the top was removed, I killed that idea too. My grandmother used to say "keep it simple stupid", it has proven to be true for this mod so far and with that in mind I came up with how I'm going to do it.
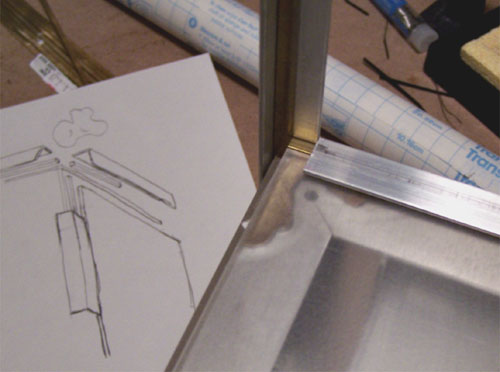
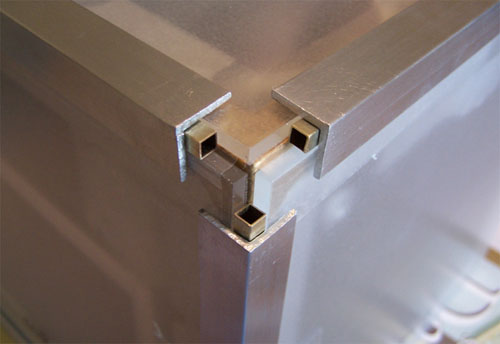
Hollow square brass rods and 1/2 inch corner alum angle, I've probably already said this somewhere earlier in the log but I love alum angle, it makes making stuff easier. I plan to connect everything together so that the entire outer casing can be removed in one solid piece, this will require moving the power button to the case bottom, but that isn't a big deal. You can also see the final design sketch in the picture below that showing how I intend to pull it all together, it is kind of vague but should make sense soon enough.
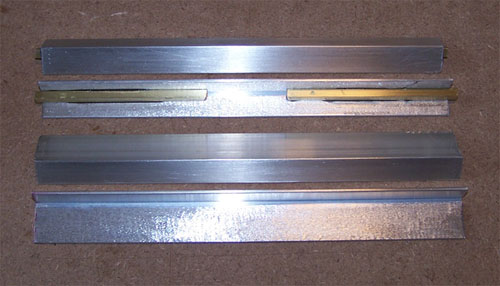
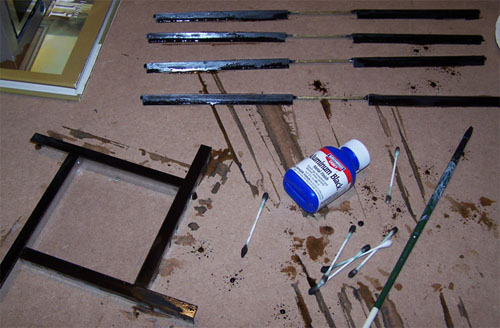
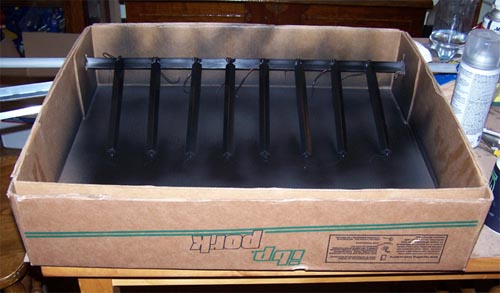
I cut the 1/4" corner alum angle into 7" lengths and the brass rods into 3" lengths, I also cut four pieces of 1/2"x3/4" corner alum angle to 7" that will be attached to the bottom of the mod.
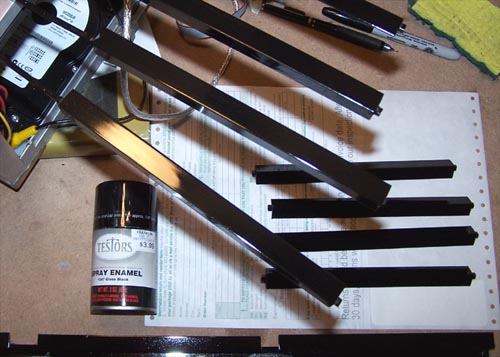
I scuffed up all the inside edges and JB-welded the square brass rod sections into the ends of the alum, eight were made to cover the edges, I also polished up the outside of the alum angle... I probably won't leave it as is but will wait and see.
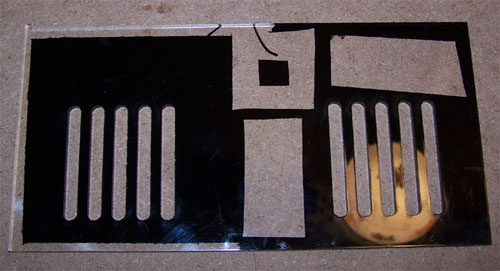
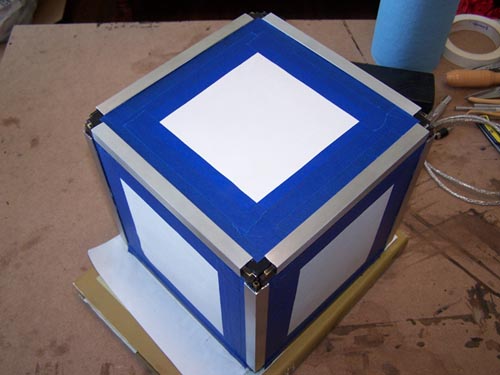
Below is a mock up to determine mask positioning for the panel back painting...
Next is a close up of the bare corner, I am still not ready to spill the beans on what I intend to do yet so you will have to wait... it will all make sense soon enough.
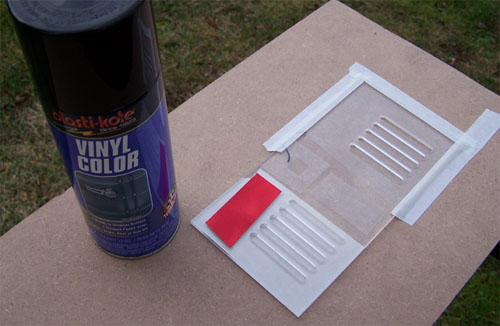
Since I don't want to screw anything up I decided to do a test run with the vinyl dye, below shows the scrap test piece.
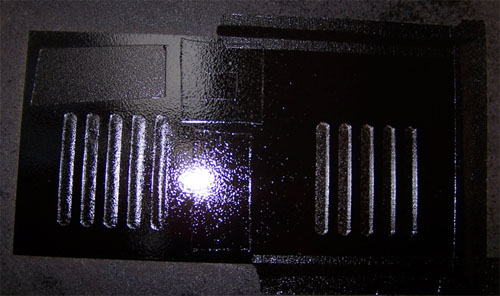
Next shows the backside still wet after four coats of vinyl dye...
And here is what it looks like post test, it looks entirely good to go... so the next step is to prep all the panels for paint.
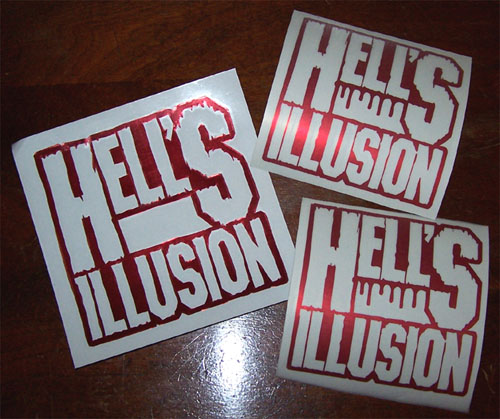
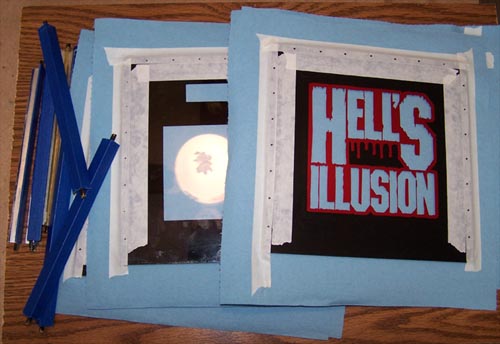
The weather here in Michigan has been unseasonable for this time of year, the temperature is almost 50 degrees in mid December... unbelievable. Since the good weather will not last I decided to take full advantage of it and work to finish this bitch and quick, doing so required finding a local vinyl cutting company to create a cleaner back panel decal than the one I made, the hand cut decal was too big anyway so I'm not crying about it. Jason at FX Graphics did me a solid and cut a couple new back panel decals on the spot, the best part of the deal is I now know a kick ass vinyl guy that lives only ten minutes away. In the picture below you can see my incorrect hand cut job on the left and the two perfect machine cut decals on the right, this being done I am almost ready to begin vinyl dying the external panels.
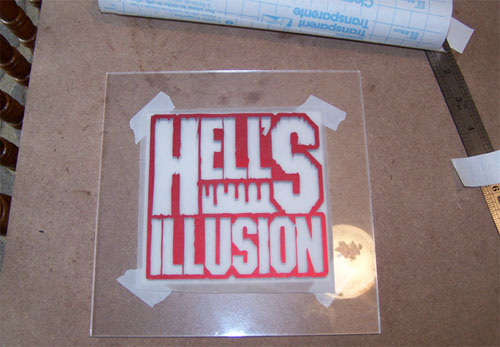
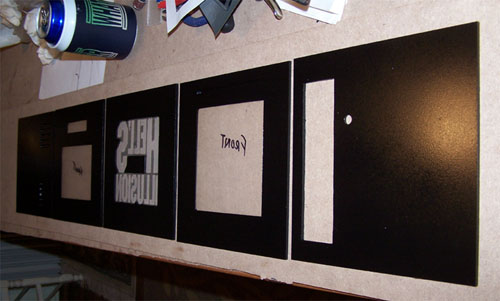
I began prepping the panels for back painting beginning with the 'Hell's Illusion' decal side, wasting no time I installed it and then cut the back side out for the lettering. I also cut out the illusion section and the LCD and Matrix Orbital spots out on their respective panels so they are now ready for paint.
I had to re-cut the side that everything ports out of, the nice laser cut panel I had intended to use would not work with the new design for the outside casing, below shows the simplified design... not quite laser cut, but close.
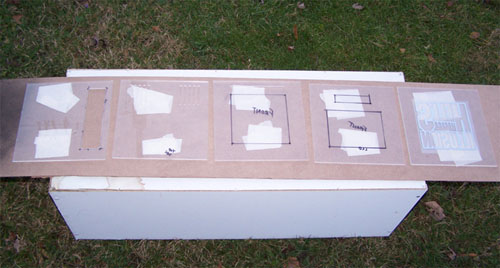
The following picture shows all the panels lined up awaiting a couple coats of vinyl dye, it's starting to get dark so I have to work quick.
Using a hair dryer in between spraying I managed to get four coats down before it went pitch black outside, below you can see the panels after I removed their contact paper masks.
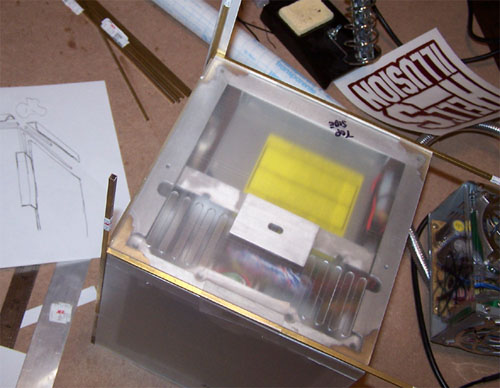
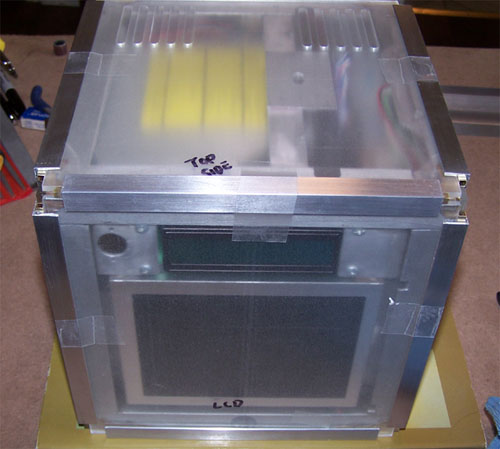
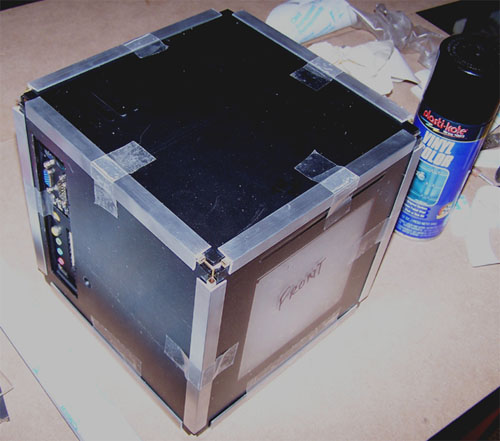
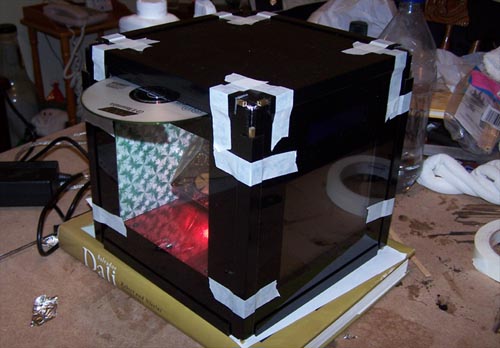
The final bit for today involved mocking the entire thing up again to make sure everything lines up... which it so far appears to. Not far now and the mod will be finished, below shows where I'm at.
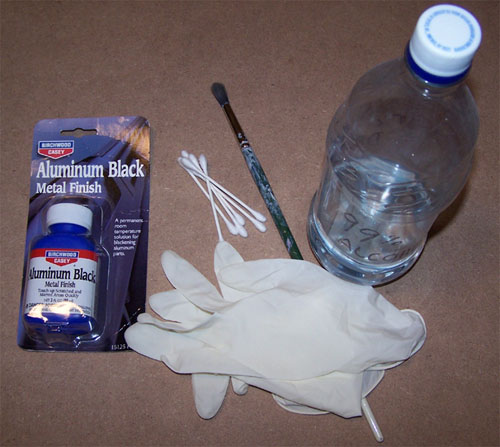
The corner Alum-Angle edges of the case are currently a shiny silver color, they need to be black to better match the mod - but how to go about it? Anodizing the aluminum would rock, but it is a pricey and difficult process... simply painting the aluminum edges black is the obvious option but I instead opted to chemically oxidize the surface of the aluminum using Birchwood Casey aluminum black.
I cleaned all the aluminum with denatured alcohol, rinsed the pieces off with water after, I put on a pair of rubber gloves and then using a paintbrush began scrubbing the aluminum black onto the pieces... the directions say rinse with water after one minute but I left it on just a little bit longer.
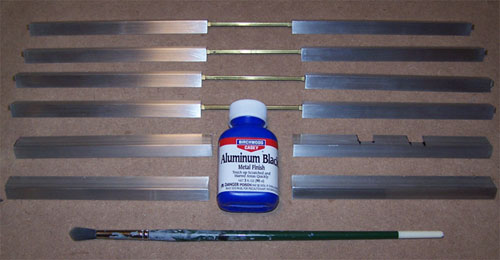
Below shows the sections of Alum-Angle at almost two minutes still wet with aluminum black, time to quick rinse them and then decide if further action is required... so far the edges look good and are a nice deep black color, when they are fully cured tomorrow I might just finish them with a layer of clear coat and call it good.
Well, that was all a big fat waste of time. After allowing it to cure overnight the pieces looked blotchy, the finish also rubbed off in spots when I handled it and could not be polished without revealing the shiny aluminum beneath. Maybe the Alum-Angle is too dense for the aluminum black to penetrate properly, or possibly the results I got are all that can be expected of it, either way this experiments over... I'm saying screw it and painting the edges, below shows the result. It's cold outside and the paint isn't 100% perfect but they are acceptable, so weather permitting I'll hit them all with a clear coat tomorrow.
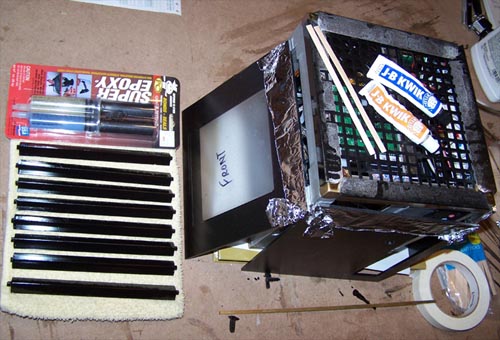
I clear coat the edge pieces and let them cure for a couple of days before handling them, then I began knocking off the corners on the pieces for the case bottom... ten minutes with a nibbler and file and I had what I wanted all around. I covered the bottom edge of each panel with a layer of aluminum foil to keep the panel from sticking to the JB-Kwik.
The side panels were all taped in place then the bottom edge pieces were lined up and traced with a silver Sharpie to make their placement easier.
Below shows the four bottom edge pieces installed, I will let them cure overnight and continue work tomorrow.
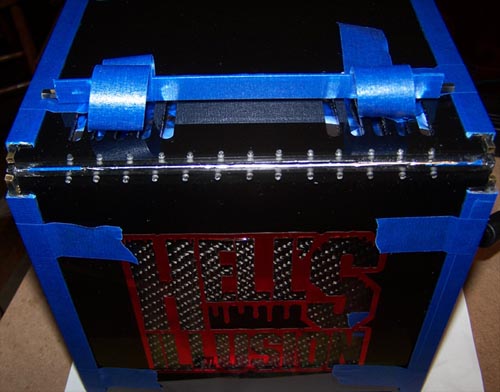
It's tomorrow and it was a 10 hour day at my job so I didn't get as much done as I had hoped to, I did manage to test fit the illusion panel before calling it quits for today. It is quickly coming together and looking really sweet, work will continue on it tomorrow... below shows where I'm at.
I covered the edges of the internal section with aluminum foil, this was done so that the external casing won't get stuck down when I epoxy the outside panels together.
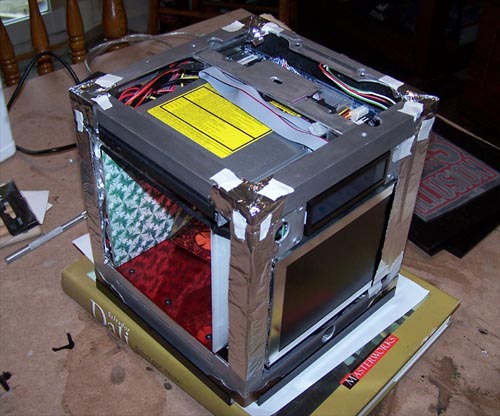
Here it is, the final test fitting before everything gets permanently placed. I had to re-do all of the corner angle pieces using smaller square brass tubing and so far it all seems to line up, the next step will be sticking it all together.
I had the whole thing JB-Kwik assembled and it basically fell apart when I lifted the external section off, I know exactly what went wrong and have a plan to fix it permanent. I bought everything I need to start the outside edges over... below shows them reassembled, painted, clear coat and ready for round two.
Round two entirely sucked. I let the painted pieces cure overnight and covered the corner angle pieces with some low tack quick release blue painters tape but when I went to reposition one of the pieces of tape it tore most of the paint off the Alum-angle... so enough trying to put the cart before the horse. I cleaned all the paint off the aluminum edges and will instead be painting them when they are completely finished, which makes better sense anyway.
Above shows the stripped aluminum edges covered with blue tape to keep them clean during installation and the filthy smudged acrylic panels taped to some shop towel sheets. The edges of the acrylic panels were marked at approximated half inch intervals in preparation for drilling. The following picture shows the holes I drilled into the sides of each panel and then enlarged from the backside to allow the JB-Kwik somewhere to go, all in an effort to make the case sturdier than my first attempt.
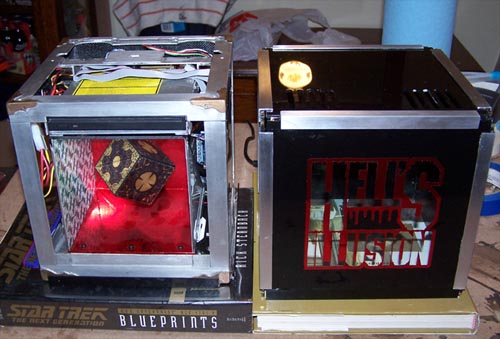
The panels were cleaned using Goo-Gone and Plexus acrylic cleaner and the corner angles were carefully attached one by one using the JB-Kwik. After it dried I took off the blue tape and then had to wrestle the casing for over an hour slowly moving it up on all sides bit by bit to remove it... thankfully it held together and the side by side picture below shows the result of my efforts. I worked on it all day and hope to do more to it tomorrow, so close now...
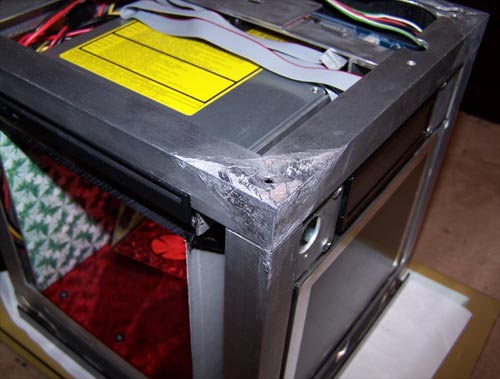
All day at work I puzzled over how to loosen the tolerances between the PC housing and the acrylic casing, having such a tight fit was unacceptable, once I got home and had a closer look it didn't take me long to come up with a plan. The following picture shows the solution - notice the missing brass corners. It took the better part of this afternoon to carefully pry the corners off and longer still to remove and file smooth the dried JB-Kwik, but it was all worth it and the acrylic casing now slides on and off effortlessly. It's been a long day, more tomorrow.
I put some aluminum foil on the corners and then placed the acrylic exterior onto the PC, the acrylic panels were masked off in preparation for this next bit.
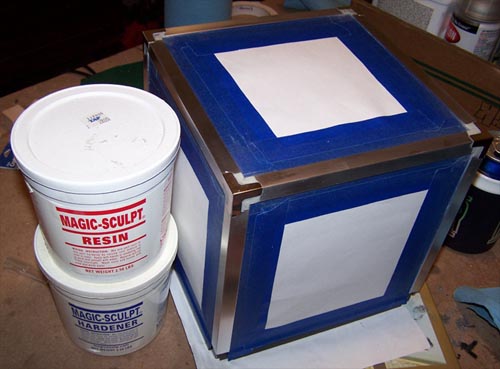
My friend Magic-Sculpt, two part simplicity that smoothes with water and dries hard as a stone... I really can't believe more modders haven't been turned on to it, truly wonderful stuff. Anyway, I bought some 99 cent corner brackets from Michaels Arts and Crafts (they kind of suck) and used the Magic-Sculpt to fill the in betweens of all the corners as an added measure in holding the outer panels together.
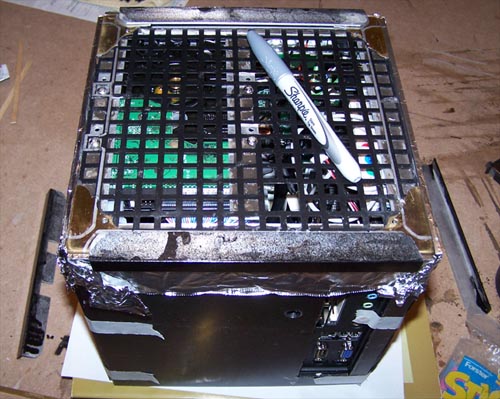
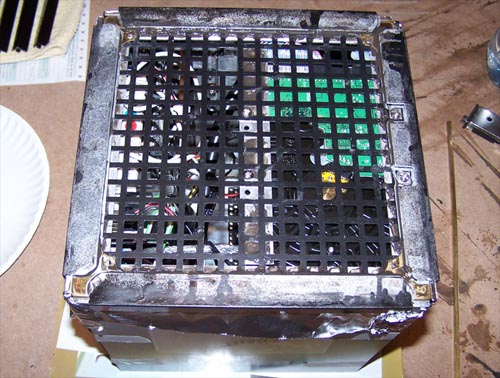
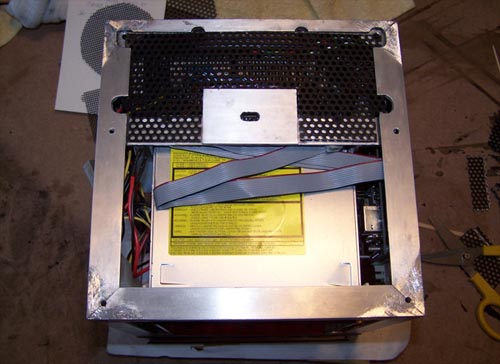
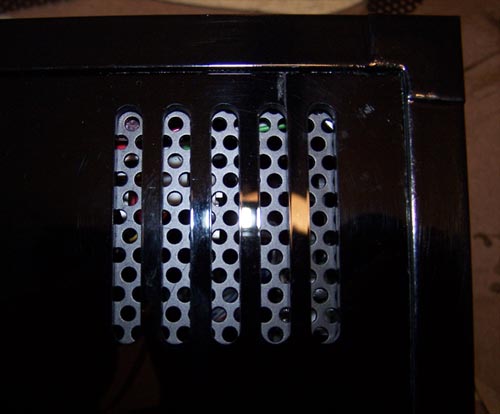
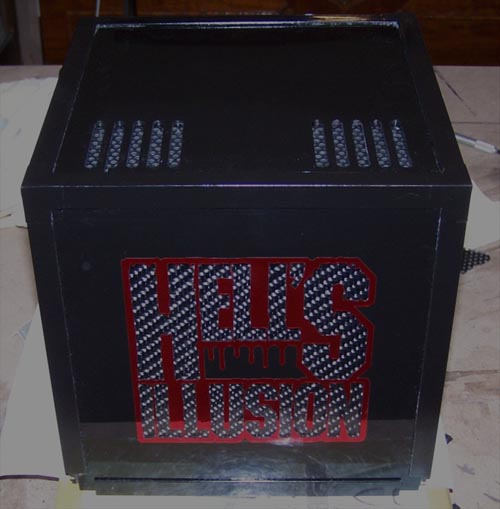
Since the internals could clearly be seen through the top vent slats, and also because I don't need anything falling into the computer, I cut some mesh to fit onto the top and it is held firmly in place by pressure, it had to be removable to allow access to the back of the slim line DVD burner.
I also painted the outside edges of the acrylic casing and removed the mask, there is still gunk on the panels that needs cleaned off and I have to touch up a couple of edges by brush but my paint job came out pretty decent. Below shows the top panel vents with the freshly installed mesh underneath.
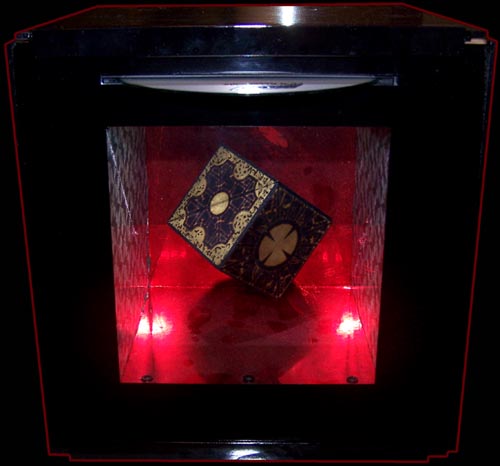
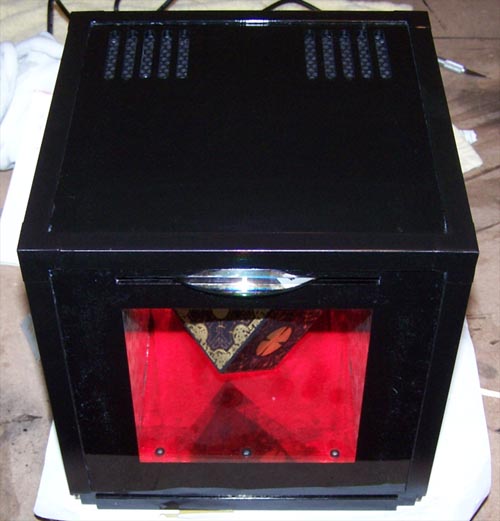
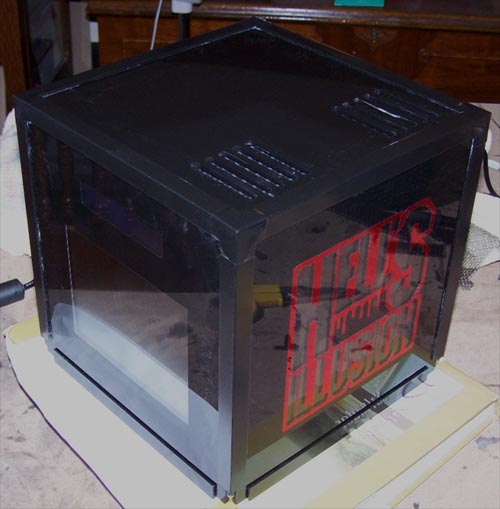
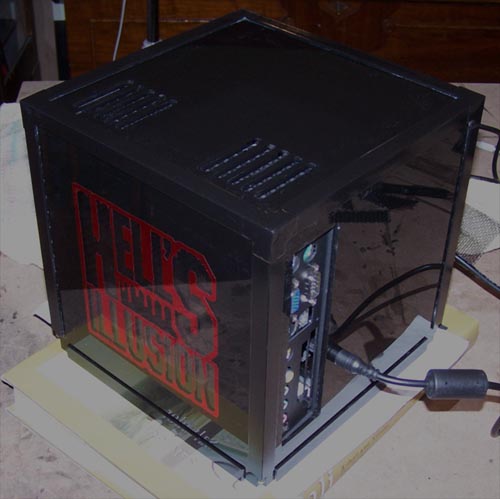
I still have not cleaned the panels but nevertheless it's time to go for a spin, the following pictures show all sides of the mod so far beginning with the port-out/Illusion-DVD 3/4 shot...
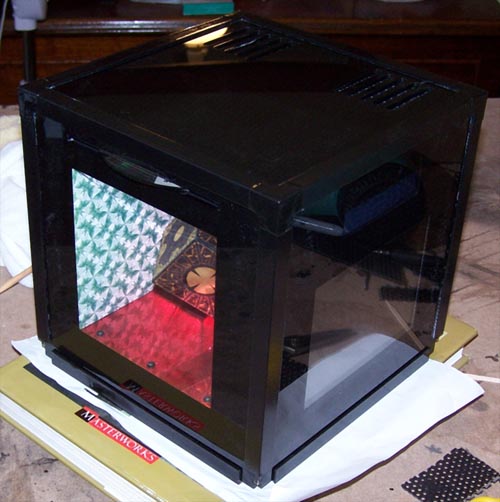
Spinning...
Still spinning...
Spin...
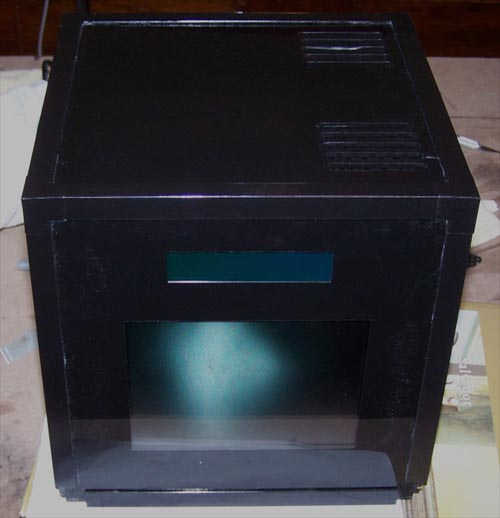
Wheee...
Woo Hoo...
Spinning ends...
|
|
|