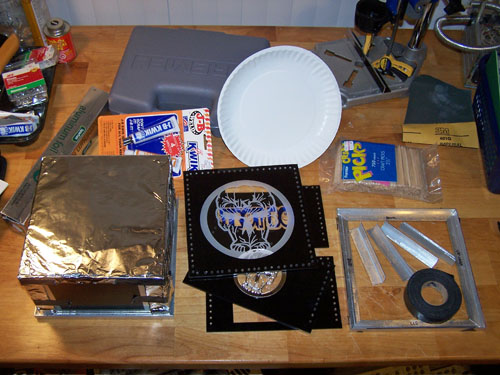
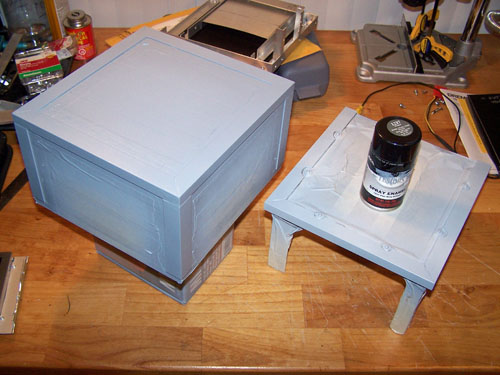
Below shows the case covered with a
taped down layer of aluminum foil, all of the side panels with their edges
drilled and the outer Aluminum framing waiting for final assembly.
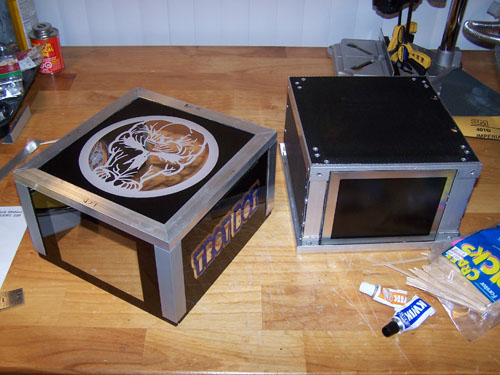
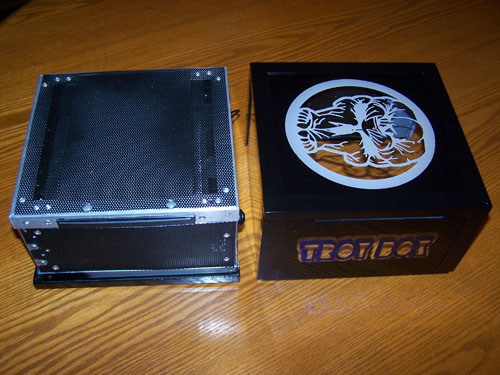
Here's the assembled outer
casing... J-B Kwik is awesome. A little masking, filing, sanding and
painting left to go and I'll be ready to install the hardware, not far
now.
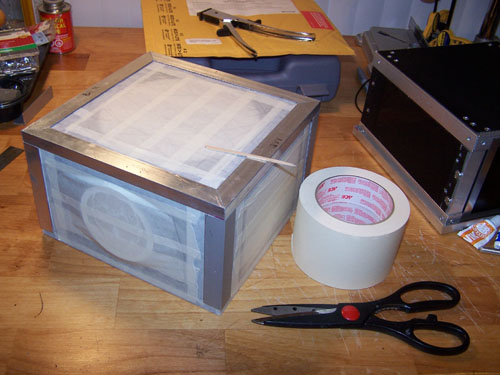
The following picture shows
the top acrylic casing all masked off, the craft pick sitting on top of it was
used to tamp the edges of the masking tape.
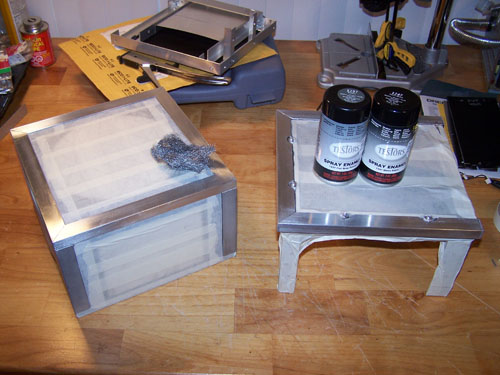
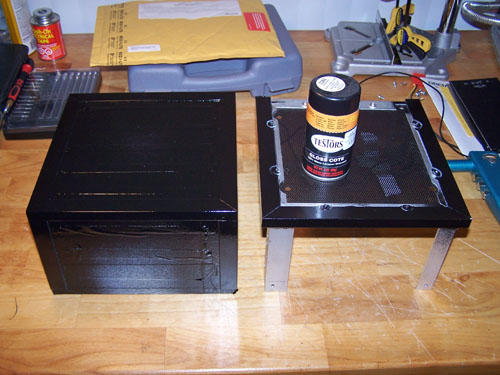
Here's the masked off outer
acrylic and bottom case section, both were scuffed up using some steel wool in
prep for primer and paint... I'm using gloss black model paint.
01/10/09
Update...
The bottom of the inner
section and the outer edges of the acrylic casing are primed and then lightly
sanded.
Four coats of gloss black
enamel plus hours of drying to get to the final step, the gloss coat. It
isn't my best paint job ever, but it will do... 29 degrees is not an optimal
outdoor temperature for painting.
The reason the paint job
below doesn't look so pretty is that it's the case bottom. I put a small
square clear vinyl bumper in each corner to help elevate it a bit.
Here is the outer casing
with the masking tape removed, I have a little bit of touch up and a whole lot
of clean up before it's perfect, it still isn't totally dry so I'll have to
wait until tomorrow before trying to fix anything.
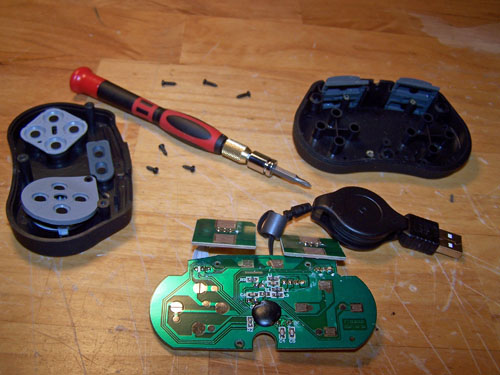
Waiting for paint to dry is
boring, so I ripped into one of the small USB game pads, just to see what I'll
be up against... thankfully it looks fairly simple.
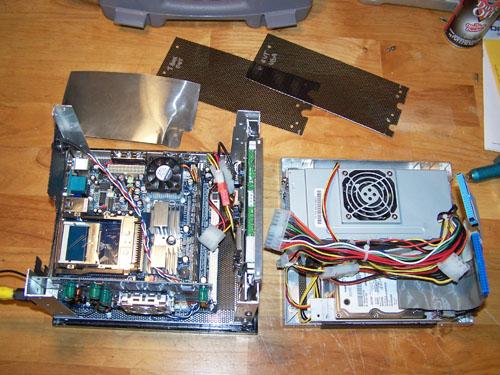
The bottom section wasn't
totally dry either, but I got antsy and started throwing around hardware
anyway... I'll also be touching up a few of the bottom edges tomorrow.
01/11/09
Update...
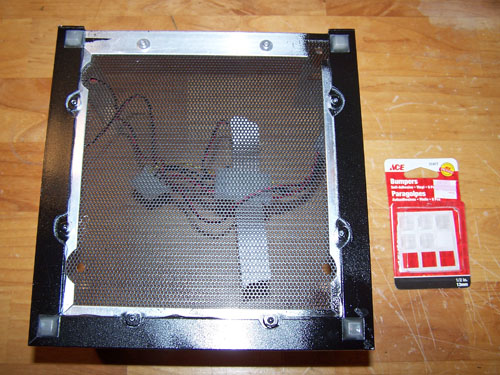
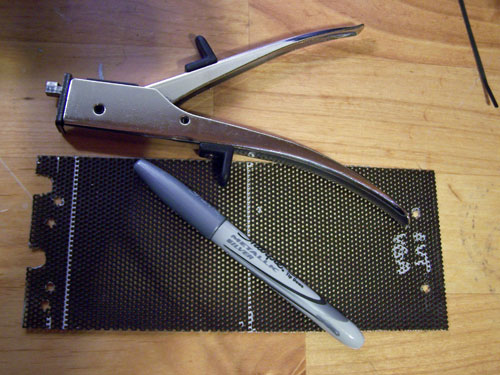
I am really good at changing
stuff right at the end of things and the picture below is a good example, I
marked out a square in silver sharpie to cut from the VGA side mesh. I
will attach the cut piece to the inside of the outer acrylic casing instead of
riveting it to the case itself.
I also changed my mind about
riveting down the top section of the inner case, gravity is awesome and is
doing a terrific job of holding things tightly together without rivets, very
cool.
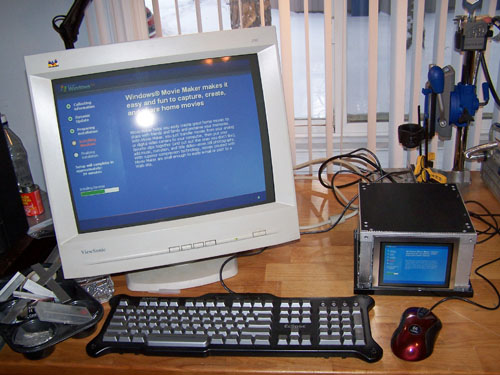
Did I mention that Windows
was loading? No. My bad. Ok, it's officially a
computer. I still have some cleaning up, final attachments and a couple
of joysticks to make, but woohoo and not far now.
01/12/09
Update...
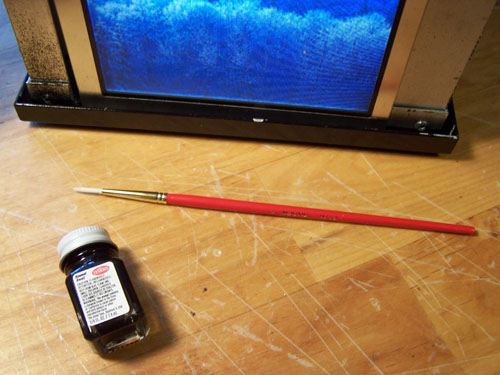
The picture below shows the
paint that chipped because I was in a hurry to get the hardware installed, I
bought a bottle of touch up paint and a paint brush to fix it.
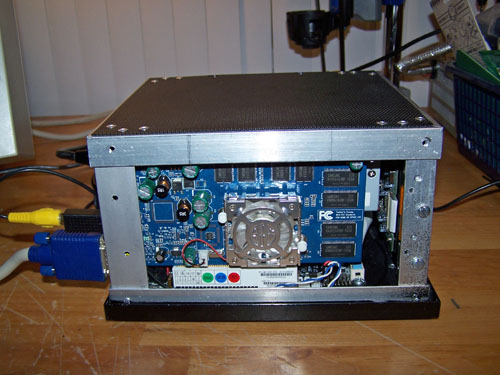
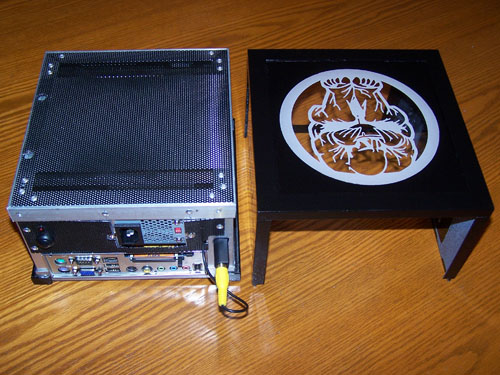
While the paint is drying I
took a few pictures of the case without the acrylic cover on, below shows the
video card side.
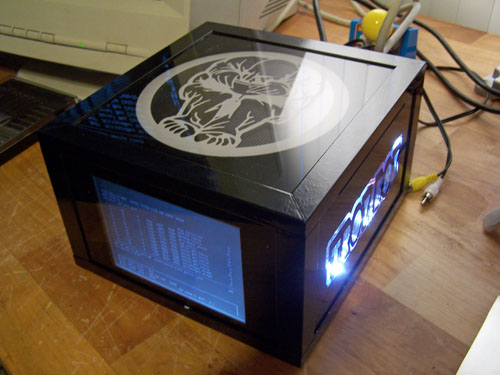
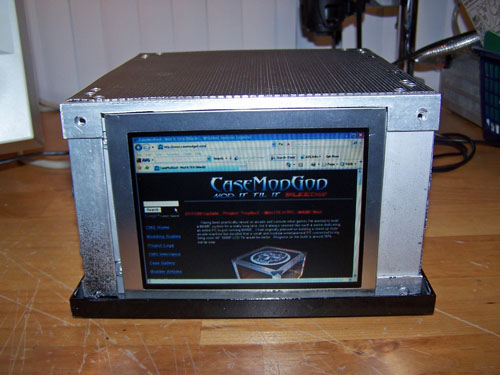
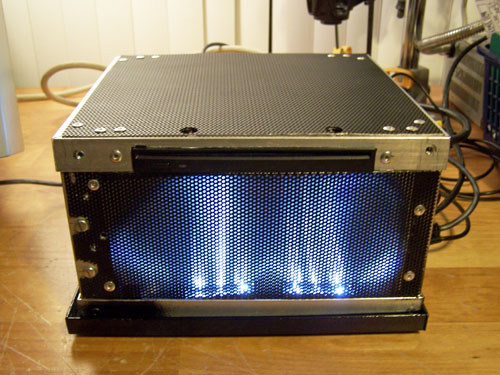
A
"topless' shot of the case front and 6" TFT LCD monitor...
Below is the slot load DVD/CD
burner and the exposed lighting effect...
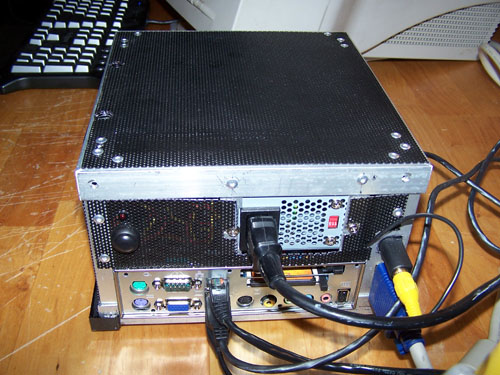
Next up is a look at the
back side...
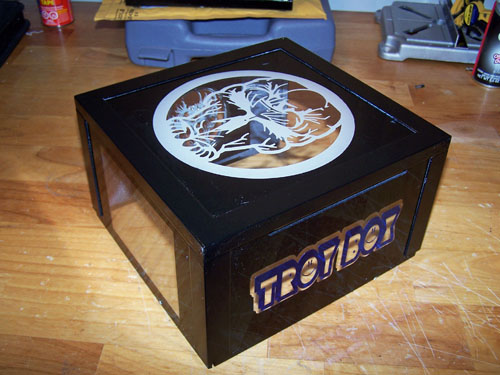
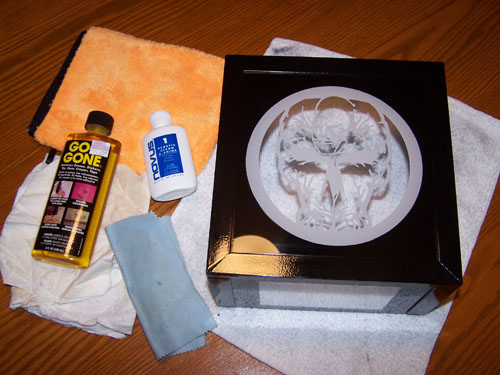
Goo gone to remove all the
masking tape residue and some Novus "plastic clean and shine" to
polish it, I'll use some Novus scratch remover on a couple bad spots later.
Here are a few shots
of the inner sides and their respective outer sides, video card...

6" TFT LCD
monitor...
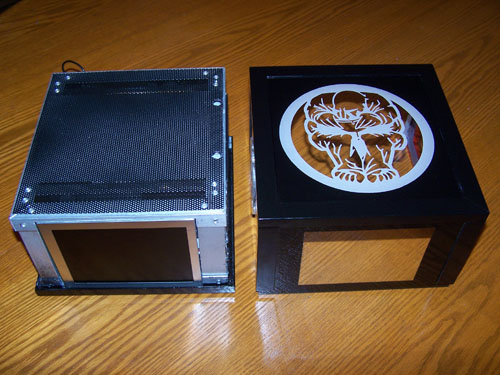
CDRW/DVD and TroyBoX
decal side...
Last up, the back...
Project
'TroyBoX'
- Mini ITX HTPC Mod - Page 5
