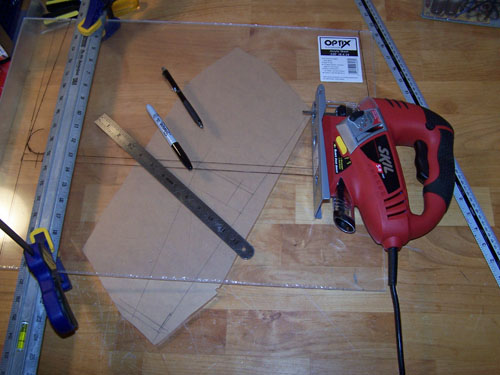
I marked a sheet of .220"
18x24 Optix acrylic for cutting, it will become the top most panel
and control panel. I also marked the side panel scrap piece that will be jigsaw cut to become
a center brace for the
control panel.
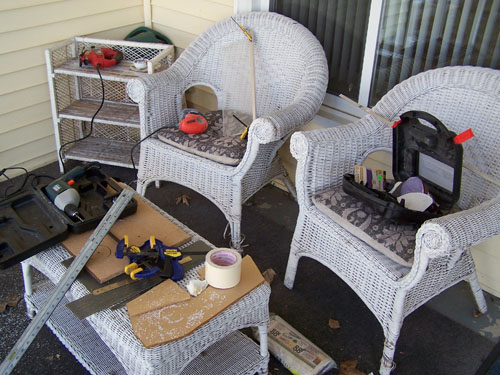
Below shows my front
porch/work area. The chair closest to the corner has the top acrylic piece with a length
of Alum-Angle double side taped and clamped onto it with my Mouse sander
sitting next to it. Clamped down Alum angle and the sander work great for straightening
screwy jigsaw cuts.
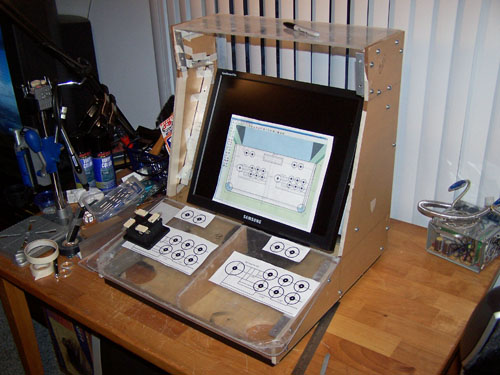
The following
picture shows the top piece and control panel test fit... it let me know
that I need to make some minor adjustments to a few pieces of Alum-Angle
to make things fit together correctly.
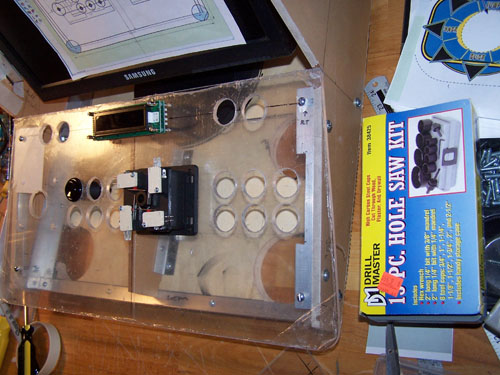
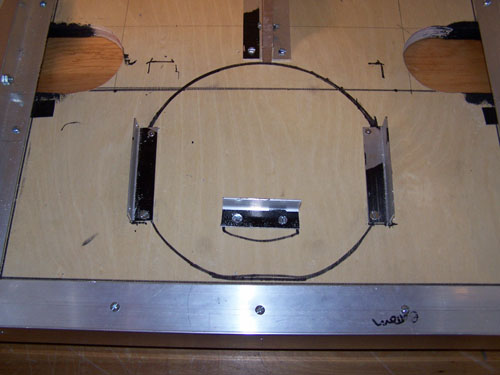
I installed the center
brace beneath the control panel and positioned paper templates for the
buttons and joysticks layout, I also marked out the Matrix Orbital
display location.

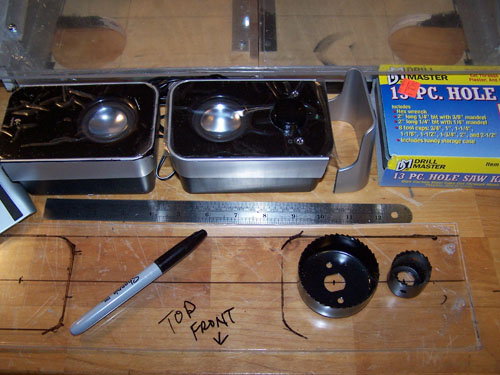
The hole saw kit is a
$6.99 Harbor Freight special, it had the two sizes I needed and they cut
holes in acrylic pretty good, well worth seven bucks anyway. Below
shows the nearly finished control panel, it still needs a bit more
filing before I can prep it for paint and final assembly.
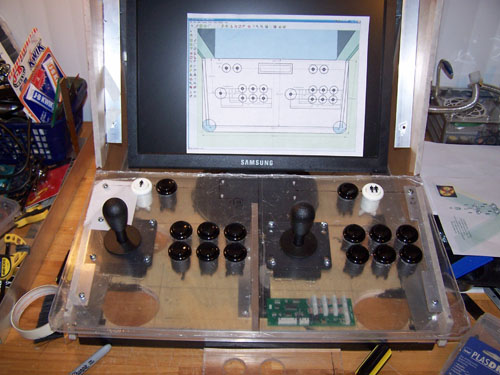
I determined placement
of the X-Arcade BYO Arcade controller board, filed down all the hole
edges and dropped in both joysticks and sixteen buttons just to get an
idea of where I'm at. I'm excited, it looks (exactly like my
SketchUp design) and feels like an actual arcade machine.
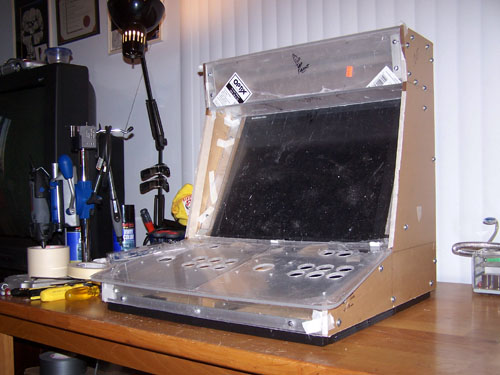
I cut all the pieces
of acrylic needed to finish the outer casing and put it all together for
a test fit... I still have to cut the speaker holes, but after that
it'll be ready for masking and painting.
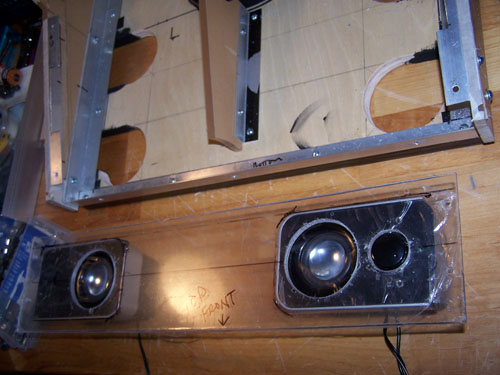
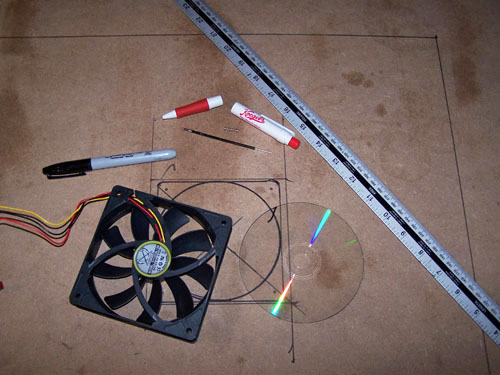
In the following
picture you can see that I cut the legs/stands off the speakers and marked
their position onto the acrylic, now it's time to cut some speaker
holes... to do this I will once again be using my handy $7 Harbor
Freight hole saw kit.
Ok, speaker holes are cut and
filed, below is a test fit. After I vinyl dye the acrylic sheet I plan to
use some Weld-On 16 to permanently attach both speakers onto it.
I had to figure out a way to
keep the monitor from shifting around inside the cabinet, I considered cheesing
out and just running wood screws through the base, but I really didn't want to
have to modify the monitor... below is what I came up with.
The monitor is held
firmly in place by the three pieces of alum-angle and the front of the
monitor base presses tightly against
the control panel support brace I made. Doing it this way makes it
easy to remove or replace the monitor if needed.

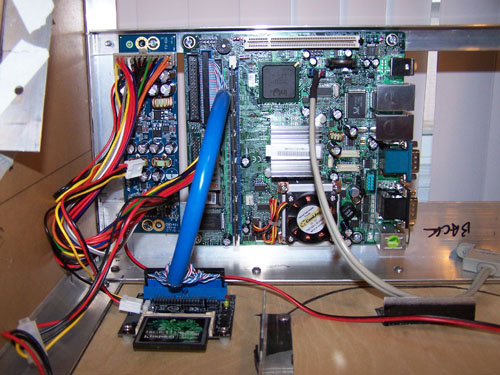
I used aluminum binding posts
and plastic spacers to mount the motherboard and power supply to the
back Alum-Angle, the IDE CF card was similarly mounted onto the plywood
base using wood screws.
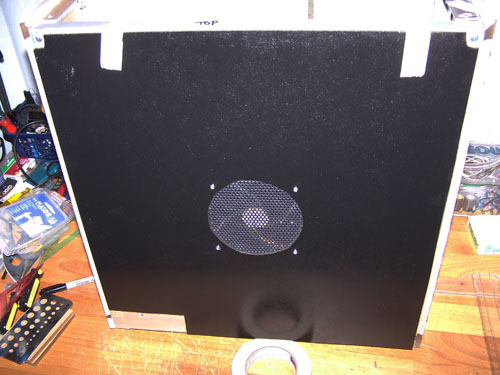
I decided to make the
back panel out of pressboard because it's cheaper than acrylic and
nobody will see it anyway. Below shows where I plan to install a
120mm fan that will be temperature controlled by the Matrix
Orbital.
I cut my holes, assembled it
all and then gave the back a couple coats of black spray paint, below shows the
test fit.
I cut lengths of
adhesive Velcro and placed them on the back framework and back panel, I
figured Velcro was simpler and more forgiving than screws and it works
great.
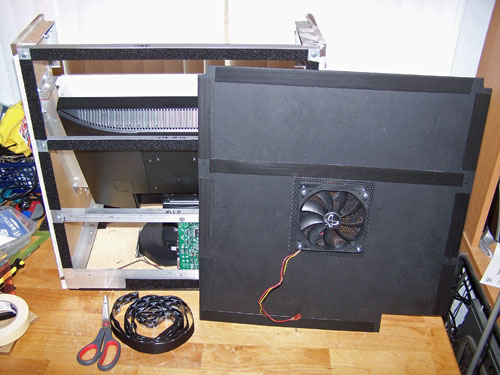
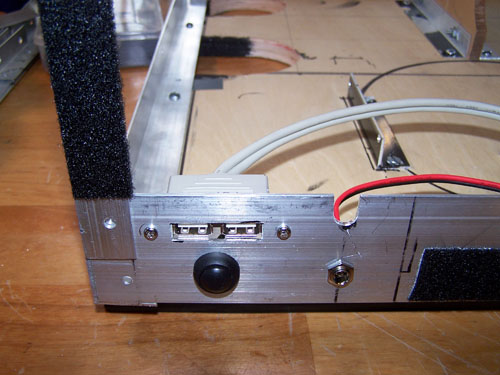
I drilled holes for both the
power connector and the power button and also cut a couple USB ports into the
bottom Alum-Angle, below shows everything installed.
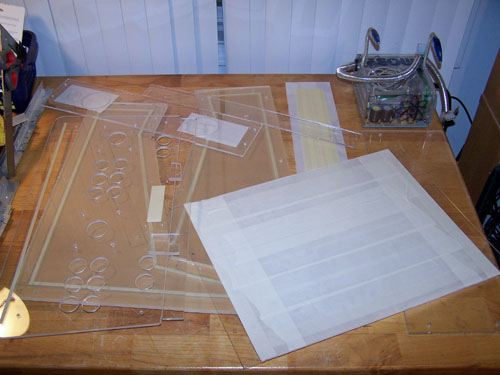
I masked and prepped
all of my acrylic pieces... too bad the sun went down before I could
coat them with black vinyl color.
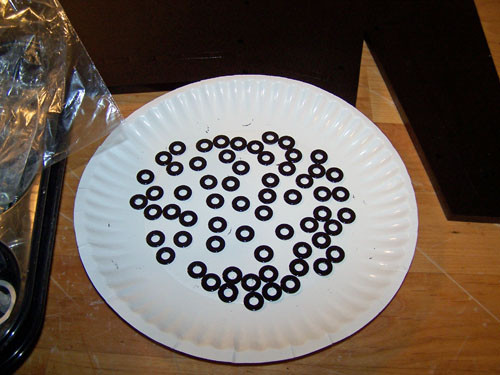
I spray painted a bunch of
washers with black enamel and then transferred them to a paper plate to dry.
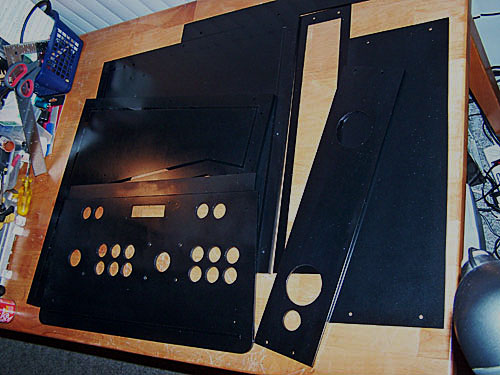
The next picture shows
all of my acrylic vinyl colored black and ready for assembly.
Project: Troy's
Arcade - Page 4
Page
1 - Page 2 - Page
3 - Page 4 - Page
5
