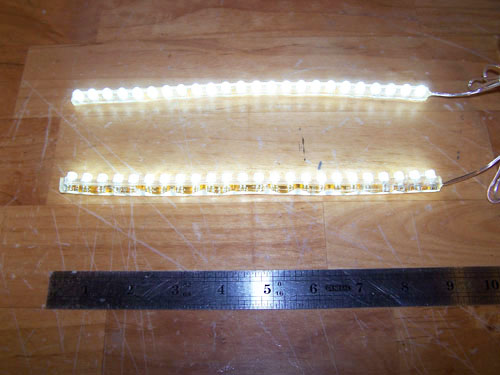
I bought a pair of 24 LED
strips for $5.99 shipped off ebay, they measure 9 inches long each. I
wired them up then fired them up, they are plenty bright and will be used to
back light the front marquee.
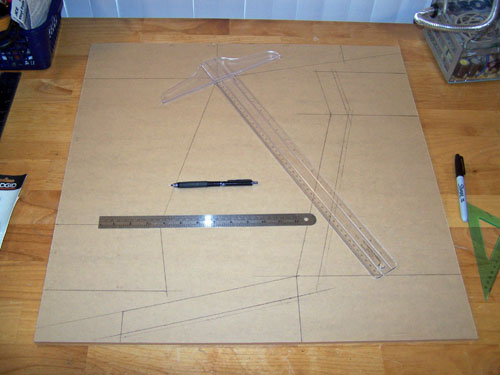
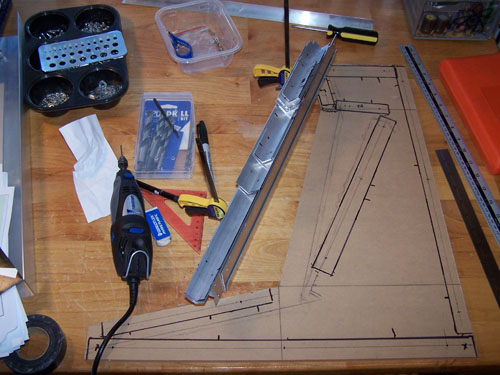
I transferred my side
panel measurements onto the sheet of 3/8" thick clear acrylic in
preparation for cutting.
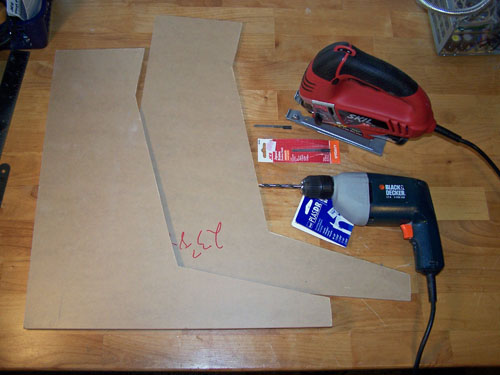
I used a jigsaw with a
plastic cutting blade and a drill with a specialized plastic cutting bit
and carefully cut out both side panels.
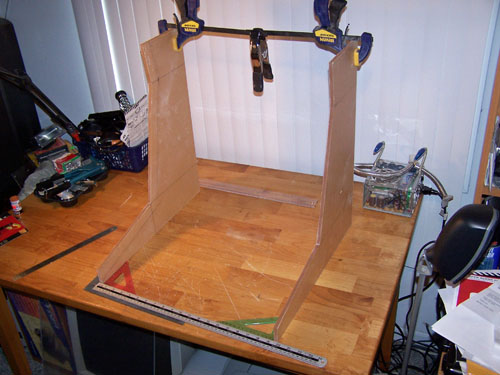
I set both side panels
up, measured it out and then sloppily clamped them together just to get an idea
of size and also to help me better visualize things.
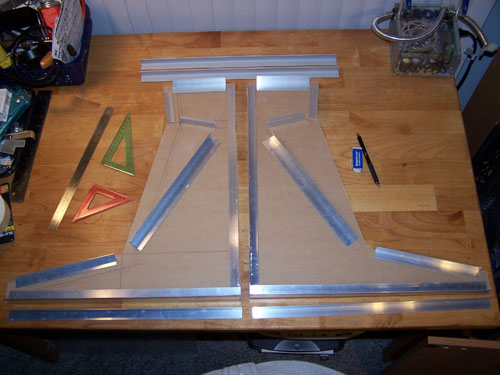
I cut a few lengths of
Aluminum Angle to size and roughly arranged them on the side panels, when
attached they will be the framework upon which everything else will be
built.
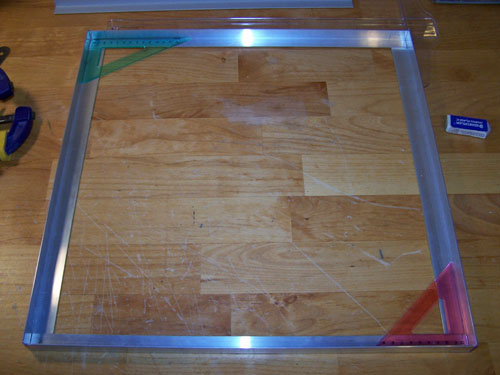
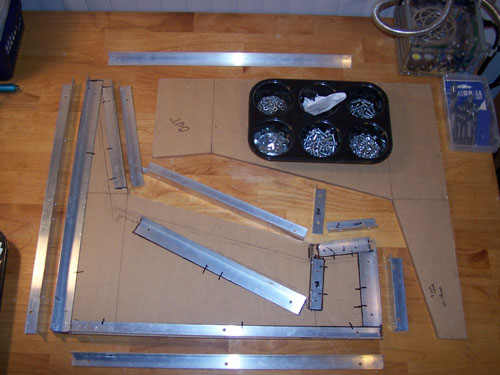
I am starting with the
bottom and working my way up, the following picture shows the Alum-Angle
lower framework all laid out, measured up and ready for drilling.
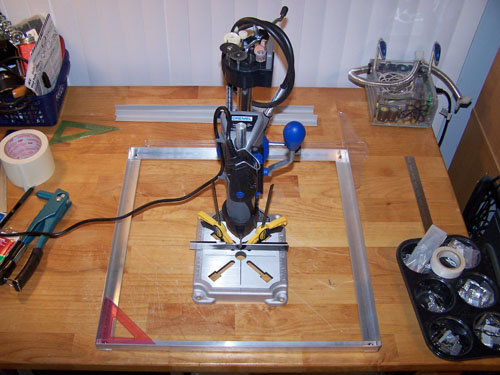
I used my Dremel Workstation
and an 1/8" drill bit, the pieces of Aluminum Angle are (for now) held
together with screws, they will be riveted together later on.
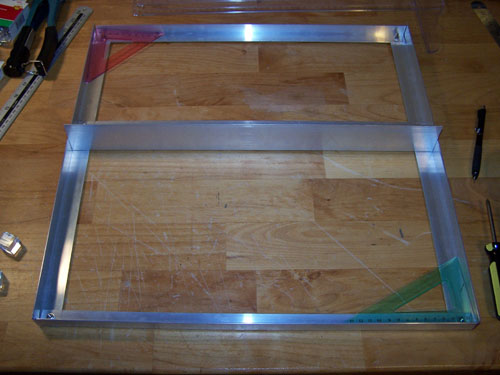
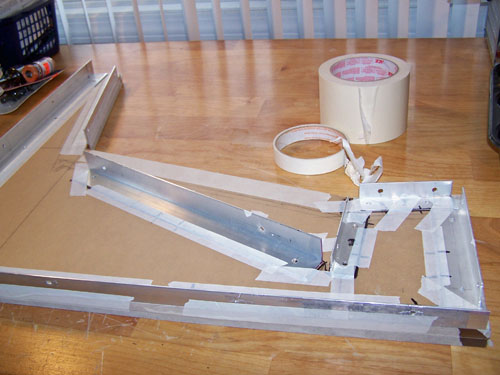
Below is the finished
bottom aluminum section, I had planned to use the center support Alum-Angle piece to help
sturdy things up and as a possible attachment point for the PC hardware,
that idea has since been nixed.
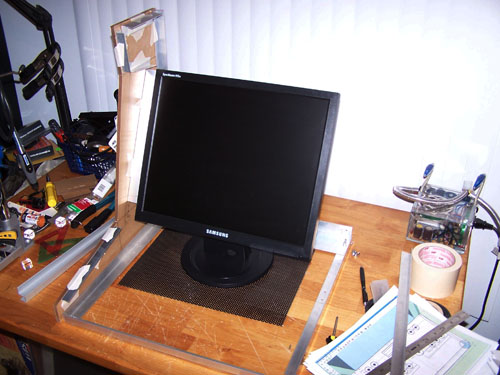
I was going to use an
18" touch screen monitor in this project, but that would have been
a total waste - so I instead sacrificed one of my 19" Samsung 915N
monitors. Not having dual 19" LCD monitors sitting side by
side on my desk made little baby Jesus cry,
I wasn't real happy about it either.
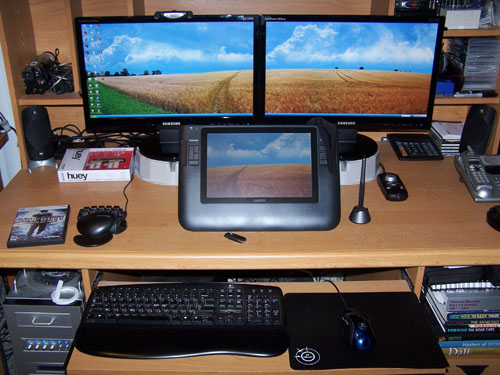
Fast forward three
days and my two 19" LCD's that worked so great together have been
replaced by two brand new wide screen full 1080P Samsung 21.5"
monitors... shiny and awesome, the little monitor in front is my Cintiq 12WX tablet.
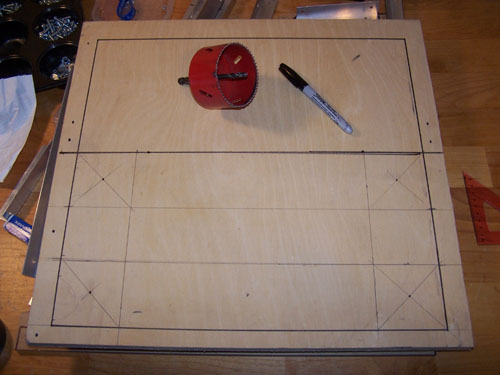
The Alum-Angle bottom
framework is just that, framework... it's not a proper base for my arcade
machine. Below is a piece of plywood I had in the shed, it fit almost
perfectly as was. I marked it in preparation
for cutting it using an 80mm hole saw and jigsaw.
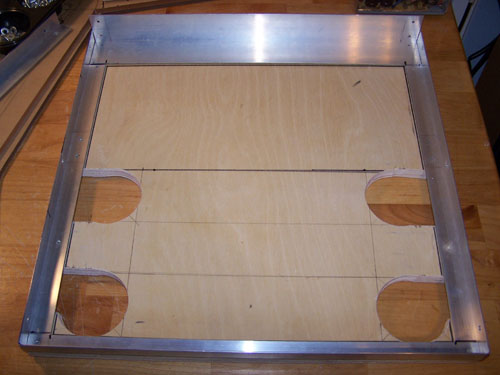
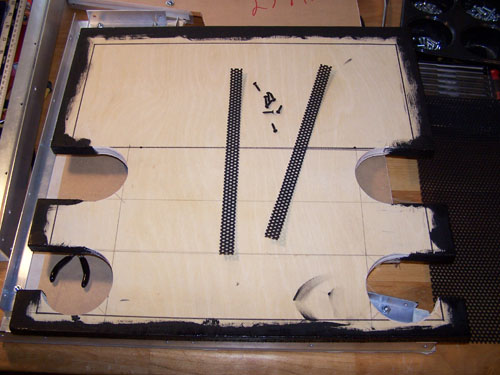
The finished product is shown
below, I have the Alum-Angle framing set on top to test for fitment.
I painted all the
outer edges of the base with black acrylic paint and then cut two strips
of plastic mesh to cover the side edge vents.
Back to the side panels... I
traced all of the pieces of Alum-Angle onto the inside of one panel and
then marked each aluminum piece for drilling.
The next picture shows
all of the aluminum pieces drilled and lined up on the side panel, it
also shows what twenty-six dollars worth of nuts, bolts, washers and
screws looks like... crazy.
I lined up and taped
both side panels together and then lined up all of the pieces of
Alum-Angle and taped them down in preparation for drilling the acrylic.
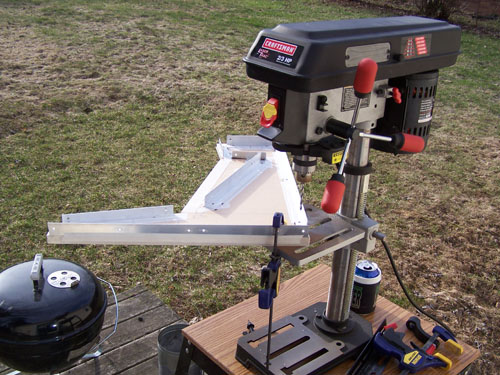
Since the holes needed
to be perfectly straight I bust out the drill press with a 13/16"
TAP Plasdrill bit, the aluminum angle acted as a guide template and the
bit cut through both acrylic panels like butter.
Below shows both sides
of my side panels with their aluminum parts bolted on.

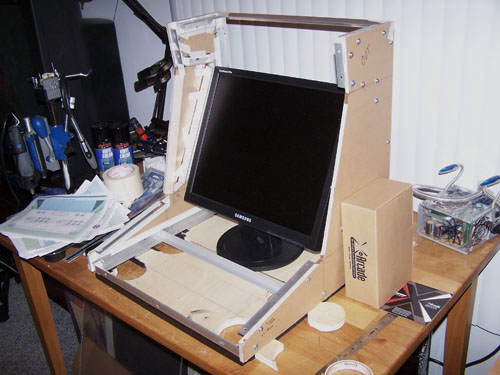
Well, now it's
starting to look like something. I set my side panels onto the
plywood base and then set the monitor inside to make sure it's all going
to line up, so far so good.
Project: Troy's
Arcade - Page 3
Page
1 - Page 2 - Page
3 - Page 4 - Page
5
