|
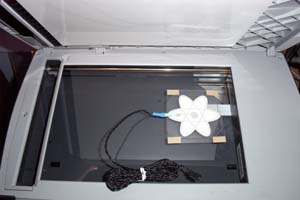
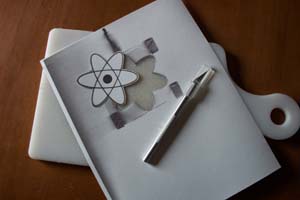
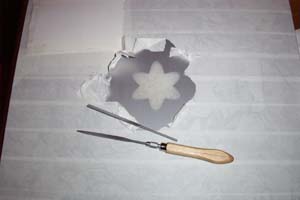
EL Applique Panel Mod Why do I mod? Hmmm, I sit here thinking about it and the best I can come up with is because I can. Moby is my "Project Overmod", an attempt to include as many mods as possible without looking tacky. As a result of all the existing case mods, and a few others that are planned for later, there was no usable space on either of my windows for the EL atomic applique that I bought from CrazyPC. I was determined to mod it into my case one way or another and it didn't take me long to decide upon the EL kits final destination. Looking at my case I saw that the only real blank space on my case is on the motherboard side so the decision was made to mod it into the side panel itself. There are Lian Li PC-60 case right side panels for sale on the net, I in fact bought a spare to mod for my case, but I have not seen left side panels anywhere. Since the left panel would be a bear to replace if modded wrong I decided that I was not going to screw it up. With that in mind I broke out the dremel, cracked a beer and prepared to mod. The first thing I did was photocopy the EL applique onto some heavy stock paper. Then using an X-Acto knife and a cutting board I cut the atomic design out of the paper. I held the EL apllique to the back of the paper to make sure that the image was cut out correctly and everything looked good to go.
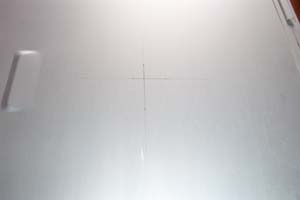
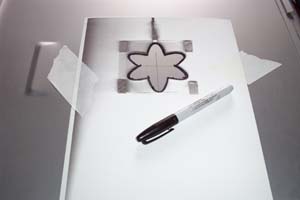
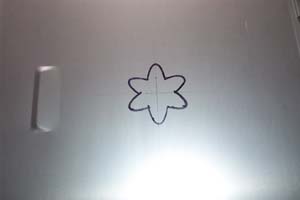
I then measured out the exact center on the inside of the side panel and marked it. I then positioned my paper template over the center mark and taped it down with masking tape. Be sure that the template doesn't move around and then carefully trace around the edges with a Sharpie marker.
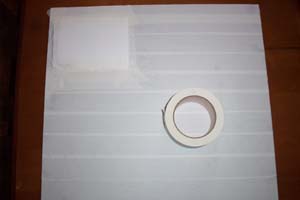
Remove the template and flip the panel over. Break out the masking tape and completely cover the side panel, this will help prevent the metal shavings from damaging your case finish. I have an applique on my panel already that I covered with paper and masked around.
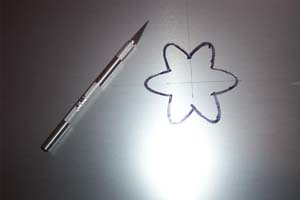
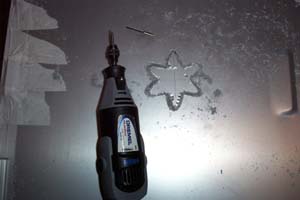
I traced around the outline of the atomic design with an X-Acto knife to make the edge more pronounced, a step that proved helpful later. Confident that I was ready for the dremel I put on the safety glasses, finished my beer and started cutting. To cut the design out of my panel I traced around the edge with the #9905 dremel bit and finished cutting through with the #9901.
Now that the design has been cut out of the aluminum panel it's time to get the X-Acto hobby file set and start making it look like something. This is the part where having cut the design into the panel with the X-Acto knife pays off, only file down to the edge that you cut and it should come out perfect. Test for fit with the EL applique as you go and always work from the inside of the case to prevent damaging the finish. File, file, file, test for fit, file, file, file, test... you get the point. When you are done you should have a kick ass cut out for your EL applique, have a beer.
On to the easy part... remove the tabs from the adhesive pads on the applique and position it onto the back of the case directly over your cut out. Turn the panel over and see how close it is, if it isn't right pull the applique back off and reposition it. When you get it placed perfectly take some scotch tape and go around the outside edges to help insure it stays put. Turn it back over and admire your work.
|
|
|