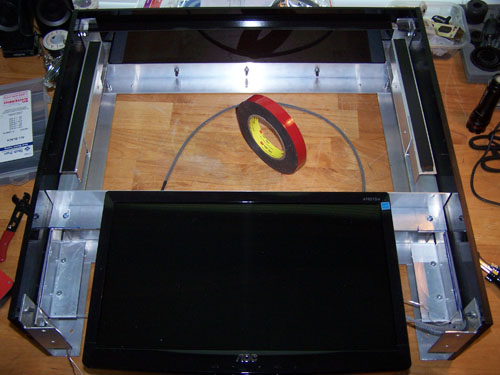
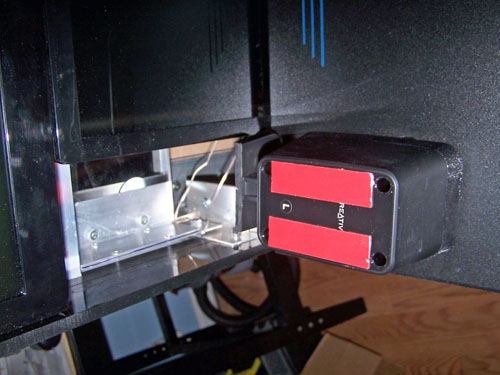
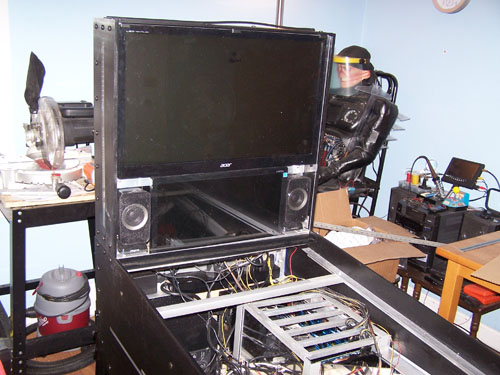
I mounted the 16" monitor into the back box and laid
down some 3M screw strong tape along the top and side edges to hold
the 23" LCD in place.
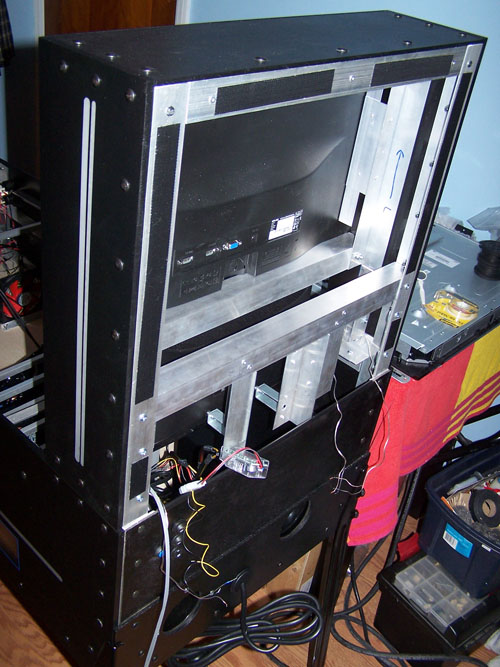
The back box is installed but the side LED lighting
still needs to be wired, here is the view from the back...
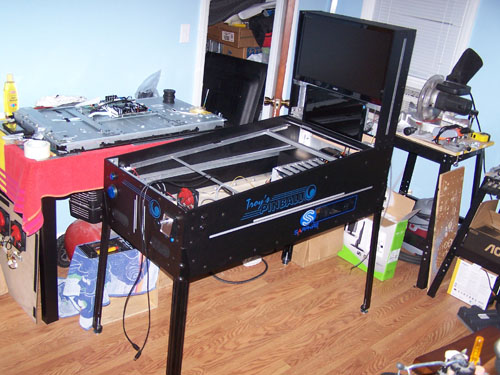
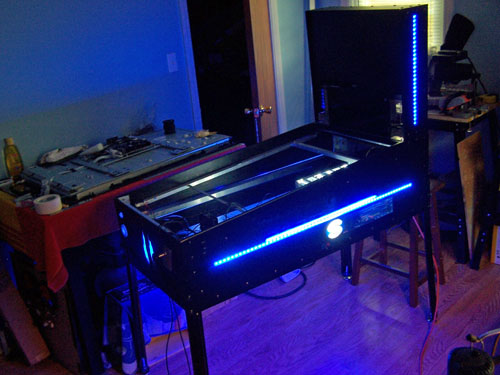
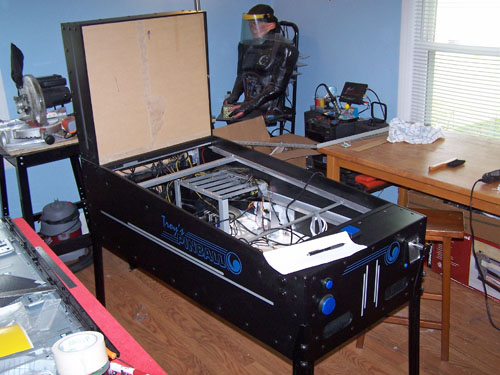
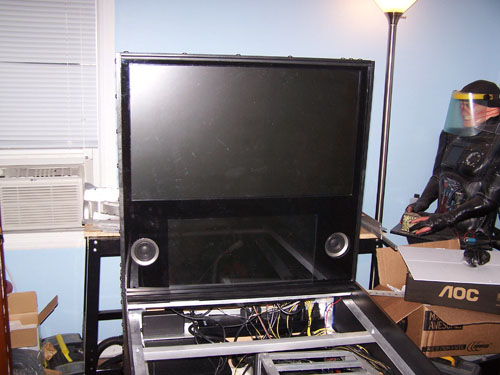
With the back box attached it looks like a pinball
machine, better yet it feels really solid. The two wires
dangling from the front are USB extension cables that will be tucked
away inside when it's finished.
The back box SMD LED strips are wired.
Here is another LED video, this one shows all three
of the Sapphire lighting effects, the back box lights and the sound
activation module that controls the blue LED light strips in the
mirror illusion as well as half of the back box LED lighting.
Here is a shot of the whole thing all lit up...
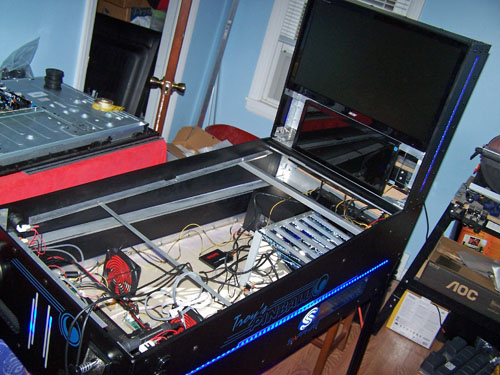
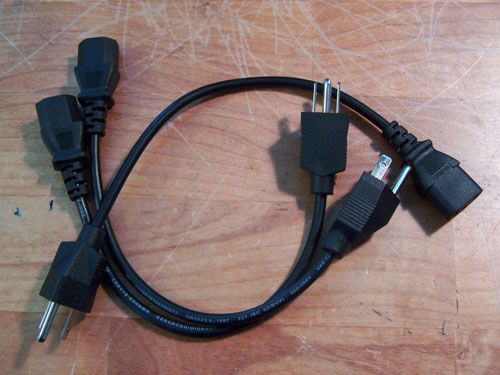
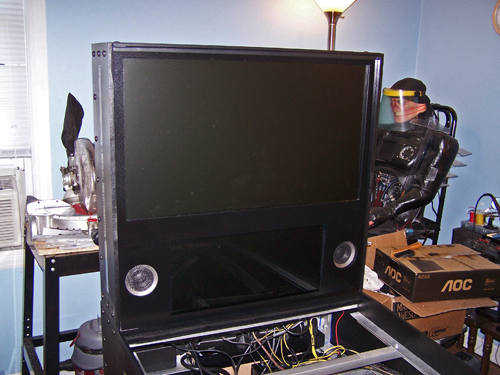
The cables inside the pinball machine are out of
control, a good part of the mess is from power cables. I
ordered three one footers to cut down on some of it, now the 16"
monitor, Antec PSU and the power brick for the LED lighting all have
short power cables.
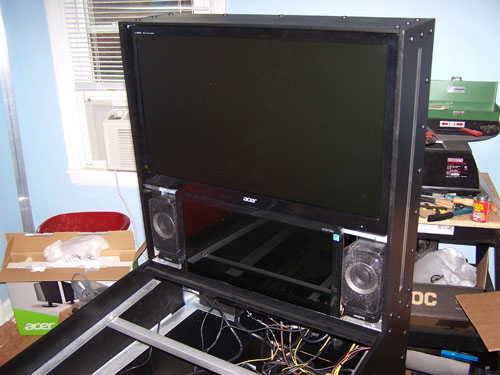
I attached two strips of 3M screw strong tape to the
backs of the speakers, this stuff is great and it really helps move
fabrication along.
Here is a shot of the back box with everything
installed, I still need to make a back painted acrylic cover piece
for the front of the back box.
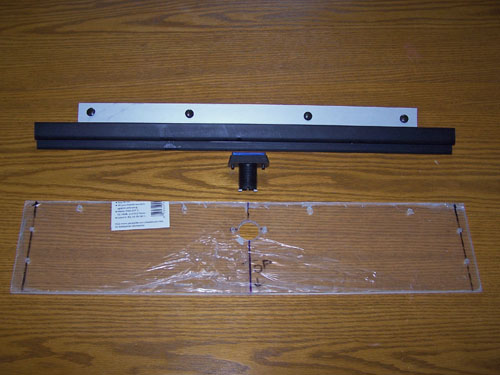
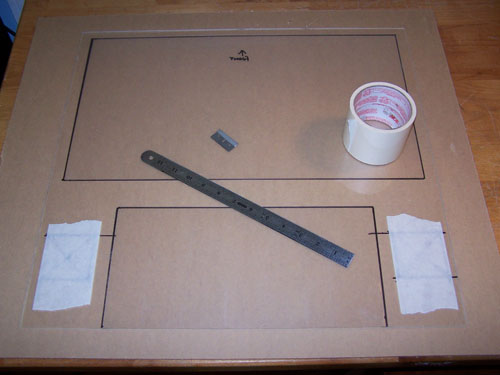
Every pinball machine has a lockdown bar to hold the
playfield glass down, below is what I came up with for the lockdown
bar on my machine. I measured, cut and drilled a piece of
acrylic including a button hole, I also cut to length a piece of
black plastic lockdown channel and aluminum angle and then bolt
everything together.
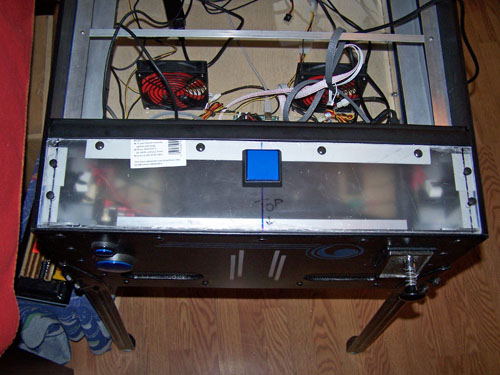
Assembled and installed for a test fit and it looks
pretty snazzy, now it just needs some black vinyl paint.
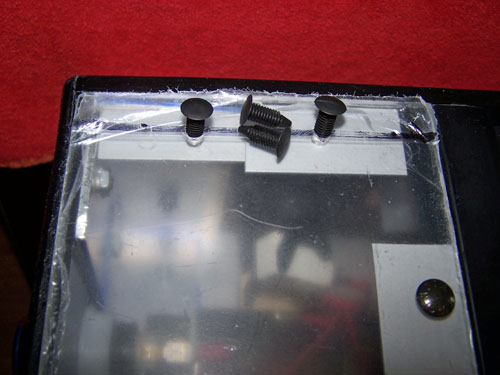
I plan to attach the acrylic lockdown using auto
panel fasteners, my reasoning is if I ever need to remove the
playfield glass I can simply open the access door in the bottom of
the machine and pop up the lockdown panel with no tools required.
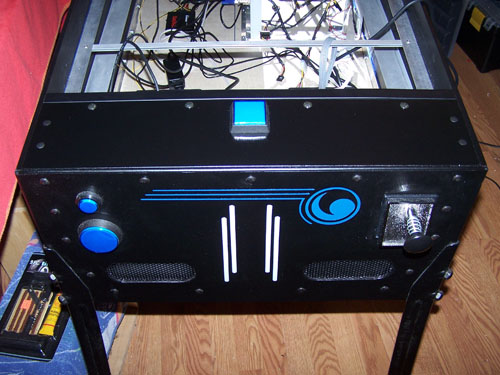
Here is the finished lockdown panel painted and
installed, the square blue button is wired for pausing the game, the
camera flash/angle makes the square button look kind of washed out
when it is actually the exact same color as the other two blue
buttons.
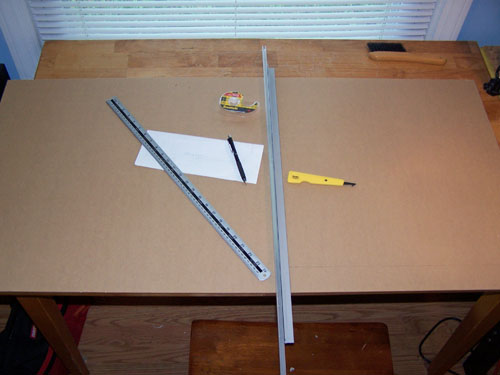
Time to make the back glass, below is a sheet of
clear acrylic that I copied measurements onto and then double stick
taped some aluminum angle onto it in preparation for scoring and
snapping.
Here it is test fit, it was too tight so I had to
sand down the edges a little to make it fit right.
I removed the paper backing and set it in place,
using a black Sharpie I marked the corners of both screens with a
dot and measured/marked an X through the centers the centers of both
speakers.
I put the back glass front side down on the table and
using clear contact paper, a ruler and a razor blade cut masks for
both monitors, wide masking tape was placed on the backside of the
speaker cut-outs in prep for some 2 1/2" hole saw action.
The back glass was then back painted with Plasti Kote
vinyl paint and test fit again, I have a couple more things to do to
the back glass before it can be final installed, but it's not far
now.
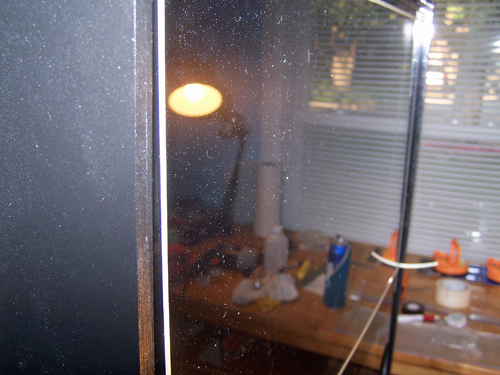
Below is a side edge view of the back glass panel, it
is a friggin' dust magnet and the worst part is that no matter how
much I dust it off it keeps coming back... I have been down this
road before though and know exactly how to handle it.
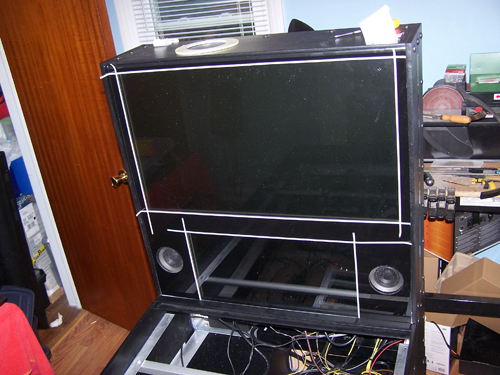
Time to cut out for the LCD screen faces, in the next
picture I taped thin lines to the exact edges of each screen in
preparation for cutting.
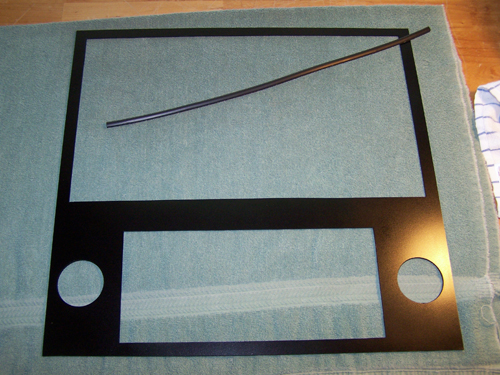
I used my Dremel and a ripsaw blade to make the cut
outs for both screens, then the edges were sanded and it was sprayed
with black vinyl paint on both sides. I cut the top edge of
the back glass panel a hair short by mistake, so I used a length of
black automotive door edge trim to fix it.
My back glass is now more of a trim panel, but I
don't mind because it will make cleaning the LCD monitor screens a
lot easier, and with the acrylic removed the monitors won't have as
much reflective glare.