|
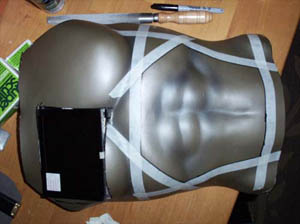
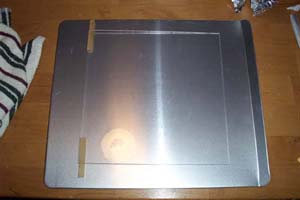
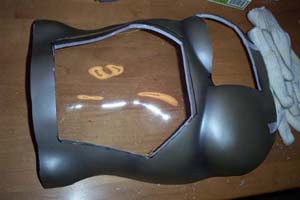
Oven Forming Sheet Acrylic. There are a few different ways to form acrylic including a heat strip or heat gun, but short of using a vacuum table the electric oven in your kitchen is your best bet for forming complex shapes in acrylic sheets. This guide comes from my "Project Lament: HellRaiser Cenobite PC" work log, below is the mannequin I used and the taped off section will be cut out and replaced with a piece of oven formed Plexi-Glass as a window.
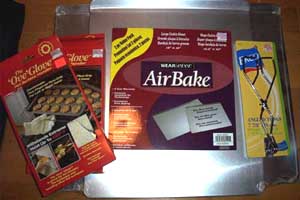
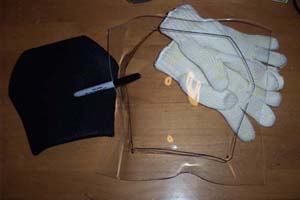
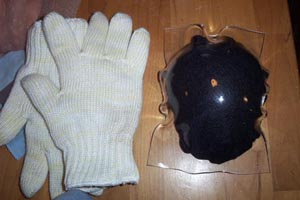
I bought supplies for the mod, a pair of 'Ove' gloves, a couple of baking sheets and some tongs... hmmm, holiday baking?
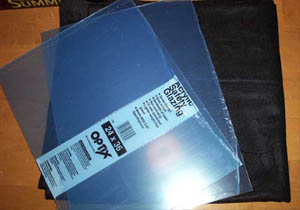
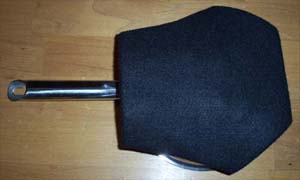
No cookies here, merely baking plexi-glass to form a curved abdomen window... under the plexi in the picture below is some felt that will be used to help form it to the mannequin belly.
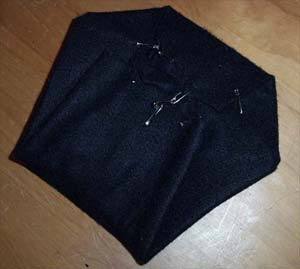
I cut out the abdomen section for the window and covered the cut out piece with felt, I pulled everything tight and held the felt in place on the back with safety pins, the felt is there to prevent scratching of the formed acrylic.
Next I placed my plexi on a baking sheet, I used a disassembled wooden clothes pin under the corners for elevation so I could peek into the oven and tell by the sagging of the sheet if it was pliable.
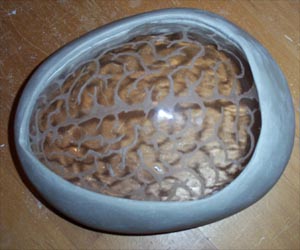
I put the plexi into my electric oven (do not use a gas oven) at 275 degrees for 12 minutes, when it looked softened I took it out, and wearing the 'Ove' gloves began quickly forming it around the felt covered abdomen cut out... work really fast because it cools quick.
You can see the results in the picture below, I think it came out pretty good. After the Plexi cooled I placed the felt covered abdomen cutout inside and traced the edges with a Sharpie marker.
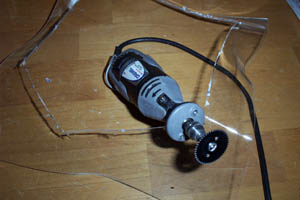
I cut out the curved plexi window using a Dremel with a Gyros brand 1 1/4' ripsaw blade, it has proven to be quite effective for cutting both Plexi-Glass and the Fiberglass mannequin torso.
Here is a test fit of the window, the shape is great but the edges are not as tight as I expected so I lined the edges of the window cutout with aluminum foil and then clamped the window in place. I put on the 'Ove' gloves and reworked the edges of the window using a heat gun, it is a good tight fit now.
I used the same technique to make the window for the top of the head, Ove gloves rock.
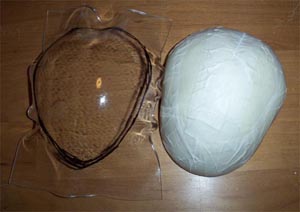
The curved window is almost an exact replica of the form used to make it, as evidenced in the side by side shot below. I traced a cutting line with a sharpie around the bottom edge.
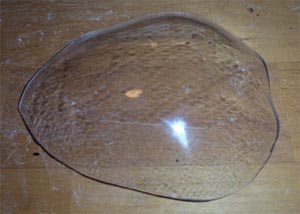
Here it is cut out and waiting to be etched and finally sculpted onto the top of the head.
Finally the finished window etched and installed...
There are a few things to take into consideration when oven forming acrylic, first is that acrylic can release fumes when you heat it, it was nothing I noticed while doing the above modding but it does play into why you should not attempt this mod using a gas oven. Secondly, I used Plexi-Glass and got good results at 275 degrees F, but different types of acrylic may have different heating tolerances... if your oven is too hot your acrylic sheet will bubble and distort, too cool and you will not have enough time to form it before it cools. To figure out what temp is best for your acrylic you can start at 275 degrees F with small scraps of the material and adjust your times and temps accordingly. Lastly, remember to work really fast... for this the Ove gloves are crucial, oven mitts or towels are clumsy alternatives, think speed. Happy Modding - Guide written by ARTbyTROY |
|
Disclaimer: This how-to guide is presented for informative purposes only. CaseModGod.com can not and will not be held responsible for damages to or resulting from anything that you may decide to do to your case or hardware. We also can not and will not be held responsible for injury to your self or others as a result of attempting any of the things that are shown on this site. Basically you are responsible for your own actions whether said actions were based on information garnered from this site or elsewhere, learn to deal with it. |