|
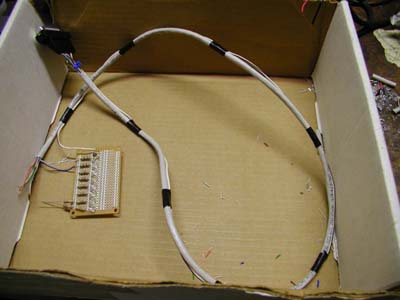
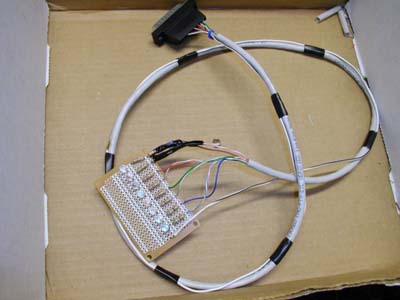
Close the hood, add a zip tie, and you're good to go. You will want to bound the wires together. With CAT5, the shielding works, and I attached the ground with electrical tape.
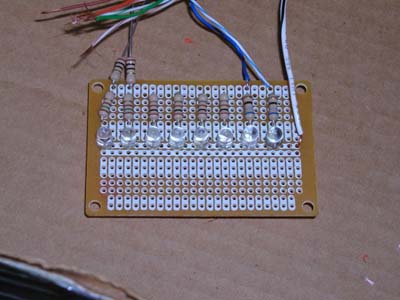
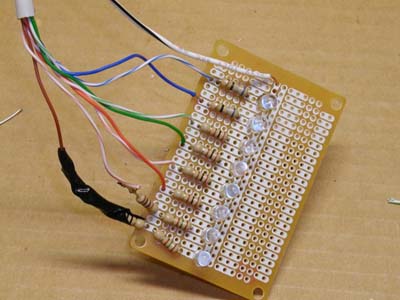
Now you will need to attach the other end of the wires to your resistors. Again prepare all your wires and surfaces (read: "flux those babies up") and solder away. Solder the ground first and make your way from the bottom on up.
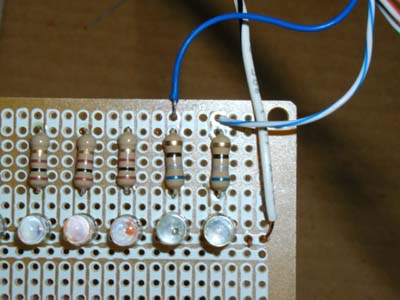
Detailed shot of the LED, resistor, and wire placement. Notice the ground wire was looped through. This is to make better wire to copper contact with the board. I wouldn't want this thing sparking beside my HDD's!
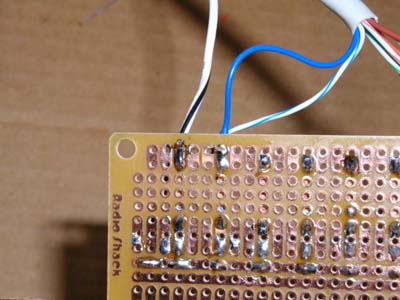
On the 2 LED's with dual resistors (if you're using 1.7V LED's), you will want to heat shrink the connection. Since I didn't think about it ahead of time, I taped it later. Clean up wiring if necessary, but otherwise you're done! Now plug that baby in and crank it up. Case placement isn't critical, just as long as it's visible. I put mine on the side of my HDD bays with double-sided tape. Afterthought: Placement in a project box will make this a more metal friendly and visually attractive (clean) mod. You could also experiment with putting it in a bay. Have fun!
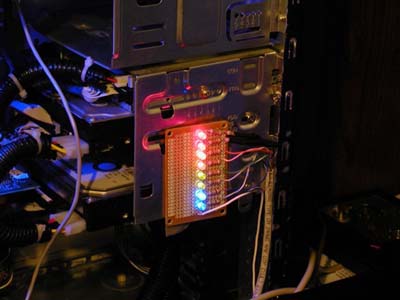
Daytime- light on.
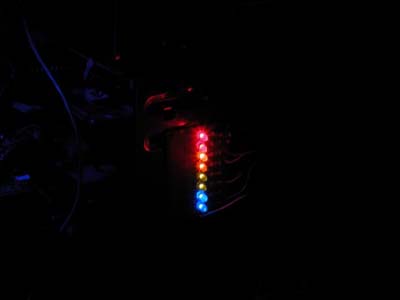
Night- light off. The blue glow is a 4" CCFL to give you a clue on brightness. CAUTION: May cause blindness! And dancing... Download the winamp plug-in for the LED meter here
Software installation instructions:
The vis_leds.dll must be placed in the plugin directory of a functioning
WinAmp version 2.xx. To select it, go to options (by right-clicking anywhere
there isn't a button) and go to visualization -> select plugin. Then go
to visualization and select LEDs flashing machine. Next go to the bottom
dropdown box and select your mode. Experiment until you find your favorite.
Enjoy!
Update If you run any OS based on the NT kernel (ie- Windows NT, 2000, or XP), you will need an additional program called Userport. UserPort allows you to control hardware resources (such as a parallel port), which is normally prevented in NT except by system functions. You will need to install then run UserPort and type "0x378-0x378" in the left hand box and then click "add". Then click "start" and "update". If you get a "Driver already started!" message, just click update. Now the plugin should work. Happy Modding - Guide written by Afturmath |
|
Disclaimer: This how-to guide is presented for informative purposes only. CaseModGod.com can not and will not be held responsible for damages to or resulting from anything that you may decide to do to your case or hardware and also can not and will not be held responsible for injury to your self or others as a result of attempting any of the things that are shown on this site. Basically you are responsible for your own actions whether said actions were based on information garnered from this site or elsewhere, learn to deal with it. |