|
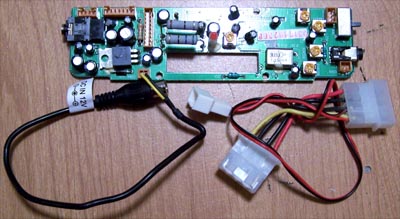
I decided that before I broke out the soldering iron it would be a good idea to wire up the power connector to the controller board and solder everything at once. Below shows the power connector cable on the left and a molex pass through power cable on the right.
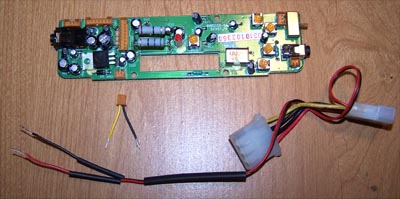
The following picture shows both cables cut, the wires stripped back and heat shrink tubing slid onto the power cable wires.
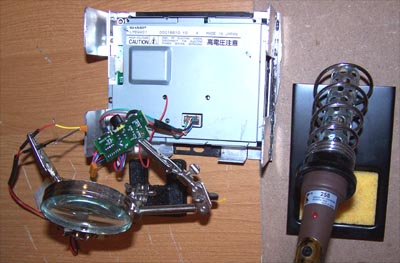
I used a helping hands magnifier to hold the power wire and control PCB in preparation for soldering, two minutes later it was done.
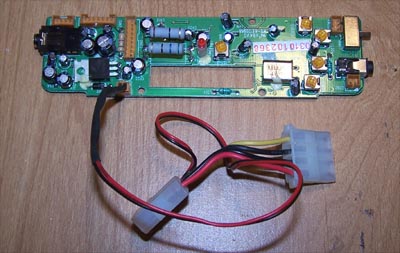
I fit the heat shrink tubing over the soldered wiring and used a lighter to heat it up, below shows the new power cable plugged into the controller board.
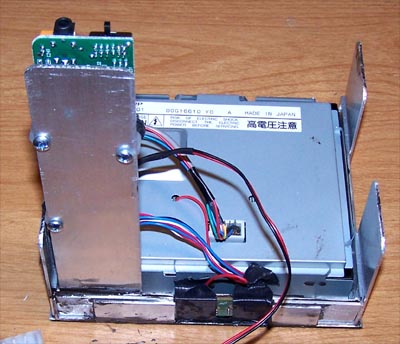
I cut a piece of flat Alum-angle to mount the controller board onto, I marked and drilled mounting holes, scuffed up the bottom edge and then J-B Kwik'ed it into place.
I used nylon spacers to hold the board away from the aluminum and a screw with a rubber grommet between the nut and PCB.
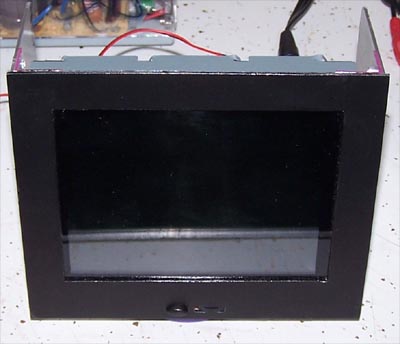
Since I do not currently have a PC with three open bays to fit this mod into I will wait to mark and drill the case mounting holes on the side brackets of the LCD.
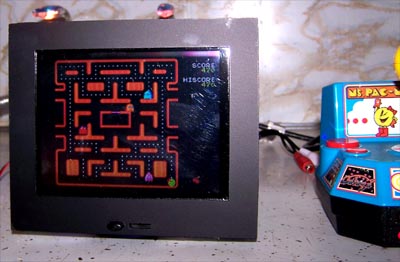
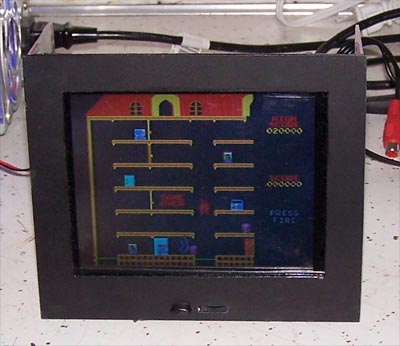
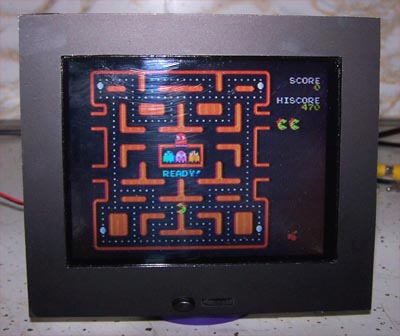
Which also means that the best in action shots I can provide at the moment are pumped out of a Namco hand held video game while sitting on a counter, it does however show that the mod will work in a PC via RCA composite video.
The degree of viewing angle for the LCD is kind of weak meaning you have to be almost right in front of it for it to show correctly, but the colors are bright and the image is fairly crisp.
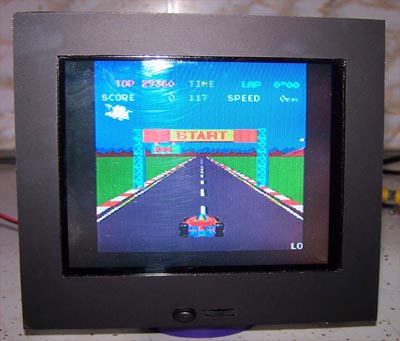
Mappy, I never really liked that game... I measured the heat out put of the LCD using an infrared thermometer, heat was minimal around the screen though there is a hot spot on the controller board that measured 105ºF.
If I had more time I would have hacked the GameCube AV cable into S-video and flipped the controller board over so that the input for composite video and the AV switch were accessible on the face plate... if I find time later I still might.
On my screen I used the original plastic that covered the screen but now wish that I hadn't as it scratches far too easily, better to not cover the screen with anything. Another thing that bugs me is that the mod takes up three 5.25" bays, if I do end up putting this LCD mod into a system I will make some brackets to mount a couple hard drives behind the screen... wasted space is just that. Happy Modding - Guide written by ARTbyTROY |
|
Disclaimer: This how-to guide is presented for informative purposes only. CaseModGod.com can not and will not be held responsible for damages to or resulting from anything that you may decide to do to your case or hardware. We also can not and will not be held responsible for injury to your self or others as a result of attempting any of the things that are shown on this site. Basically you are responsible for your own actions whether said actions were based on information garnered from this site or elsewhere, learn to deal with it. |