|
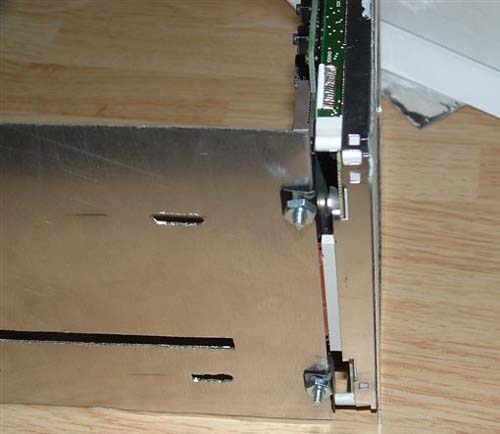
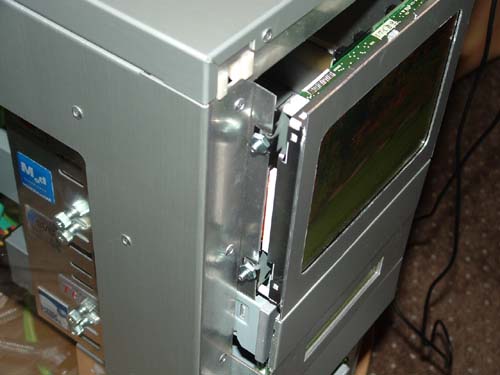
I could have bent the tab rails back or just cut them out, but this way you don't have to do anything to your case to make this LCD mod fit into it.
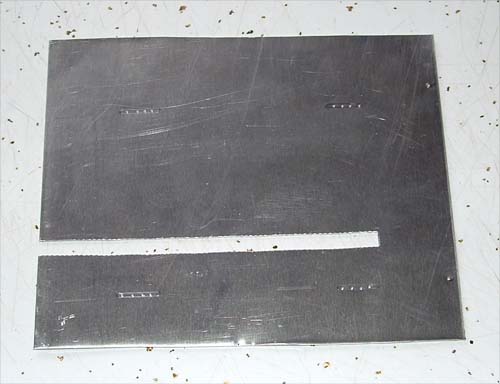
After all that is done, it was time to drill the holes in the sheet metal where the bolts would screw into the drive bay cage.
You will also have to drill holes into the sheet metal for the LCD screen to attach to it. The bolts I used were standard # 6 screws that were 3/8? long.
The same screw will fit through the holes on the LCD bracket, so that way you don't have to use different screw sizes. I would suggest to use lock down nuts on the back of the screws when attaching your screen to your PC.
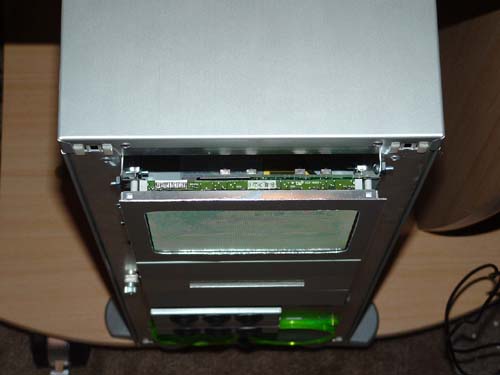
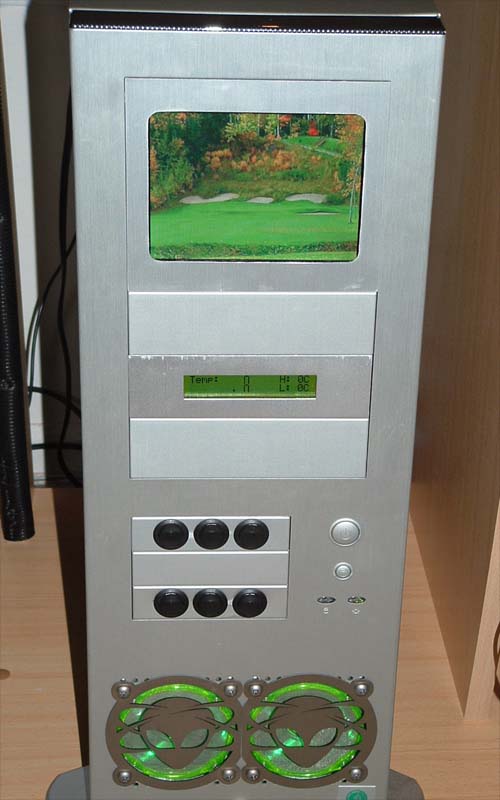
After that, you're all set to hook it up and let it fly.
- HAPPY MODDING! - - Guide written by MARKLAR and ARTbyTROY |
|
Disclaimer: This how-to guide is presented for informative purposes only. CaseModGod.com can not and will not be held responsible for damages to or resulting from anything that you may decide to do to your case or hardware. We also can not and will not be held responsible for injury to your self or others as a result of attempting any of the things that are shown on this site. Basically you are responsible for your own actions whether said actions were based on information garnered from this site or elsewhere, learn to deal with it. |